3.6.8 Inventory
Article goal
Show how a club administrator can view, create and control inventories: check statuses, open inventory sheets, export the items list and start a new inventory.
Who this article is for
- Club administrator
- Store manager
- Staff members with access to the “Store” module
What you will learn
- How to open the “Inventory” section
- How to view the list of all inventories
- What the “Completed” and “Not completed” statuses mean
- How to see the date and author of an inventory
- How to create a new inventory sheet
- How to export the items list before inventory
Prerequisites
Before you start, make sure that:
- You have access to the admin panel and permissions to work with the store
- Store categories and items are created correctly
- Previous inventories are completed (if a strict sequence is required)
Step-by-step guide
Step 1. Open the “Inventory” section
- Log in to the admin panel.
- In the left sidebar menu, open the “Store” section.
- Select “Inventory”.
A table with the list of all created inventories will open on the screen.

Step 2. Review the inventory list
The table shows key parameters:
- Number — unique inventory ID
- Status — Completed or Not completed
- Date — when it was created or completed
- Author — the staff member who initiated the inventory
You can click on the number (for example, 54) — a detailed inventory card will open.
Step 3. Filter and sort data
Column headers contain sort icons — click them to sort:
- By number
- By status
- By date
- By author
This helps quickly find the required inventory, for example, the most recent completed one.
Step 4. Export the items list
Before starting a physical count or to compare data, you can download a file with current stock balances.
- In the upper-right part of the screen, click “Export items list”.
- The system will generate a file with all items and their quantities.
Use it as a basis for physical store checking.
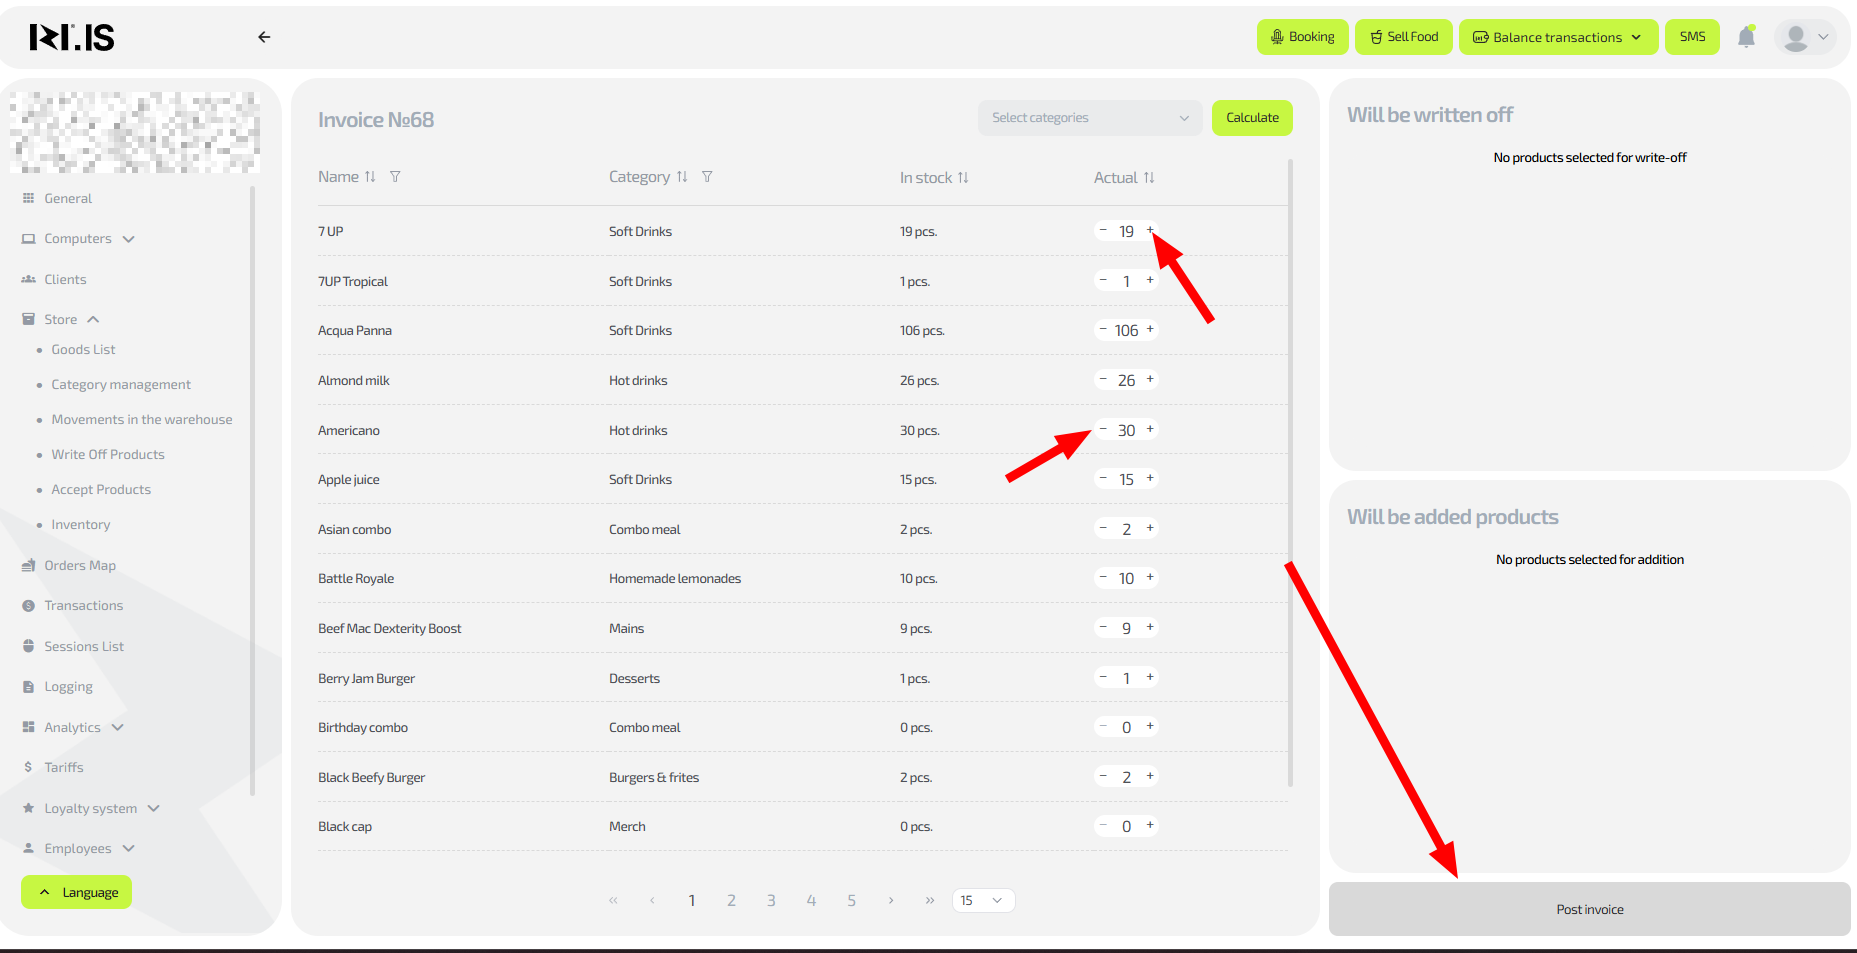
Step 5. Create a new inventory
If you need to perform a new stock count:
- Click “Create new inventory sheet” (to the right of the export button).
- The system will create a new entry with a unique number.
- Open the inventory sheet and enter the actual quantities for items.
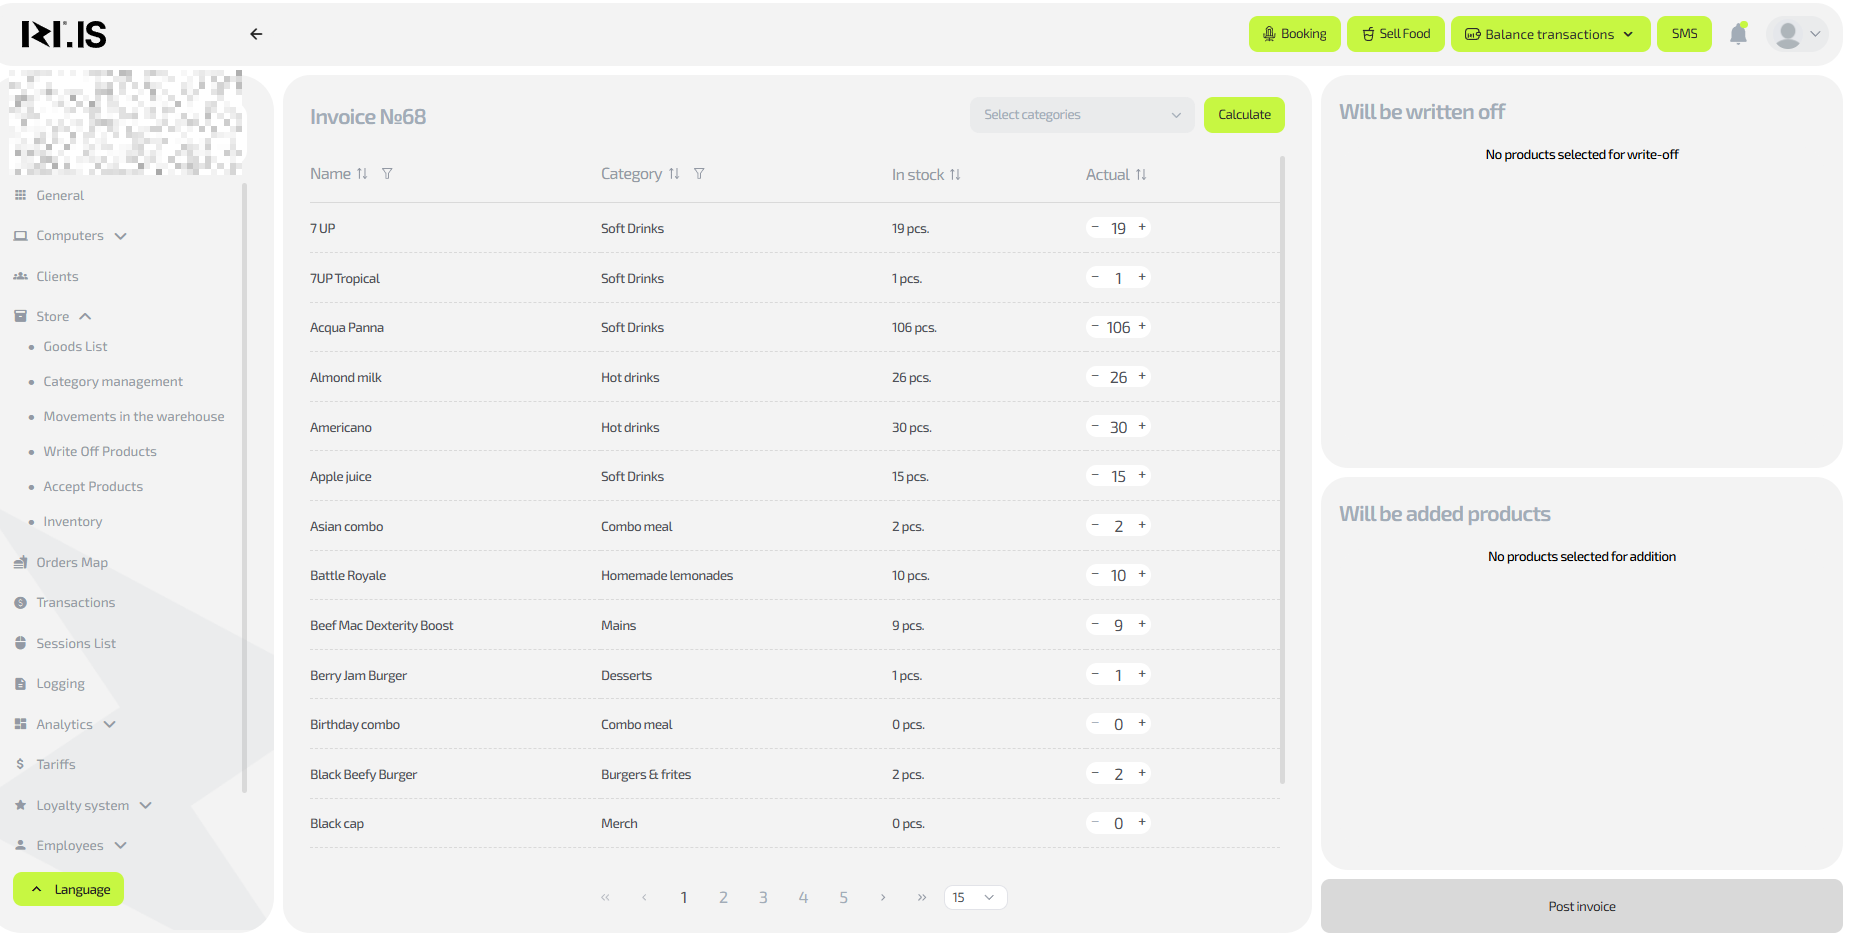
After you fill in the data, you can post / complete the inventory to update stock balances in the store.
Common situations
| Problem | What to do |
|---|---|
| Inventory is shown as “Not completed” | Open the record, enter all data and confirm completion. |
| Items have incorrect stock balances | Check the last completed inventory — actual quantities may not have been entered. |
| Unable to create a new inventory sheet | Refresh the page or make sure the previous inventory was saved correctly. |
| Author is displayed incorrectly | Check staff settings and access rights. |