3.6 Store
Article goal
Explain step by step how to work with the store module in the IZI system: from creating categories and items to performing inventory counts and analyzing stock movements.
Who this article is for
- Club administrators
- Staff members with store access rights
- Club managers and owners
What you will learn
- How to create categories and add items to the system
- How to correctly receive items to the store and write them off
- How to analyze stock movements to optimize purchasing
- How to perform inventory counts and detect discrepancies
- Which common problems arise when working with the store and how to solve them
Prerequisites
Before you start, make sure that:
- You have access rights to the store module
- Information about items is prepared (names, prices, calories)
- The category structure for your assortment is defined
Step-by-step guide
Step 1. Adding items to the list
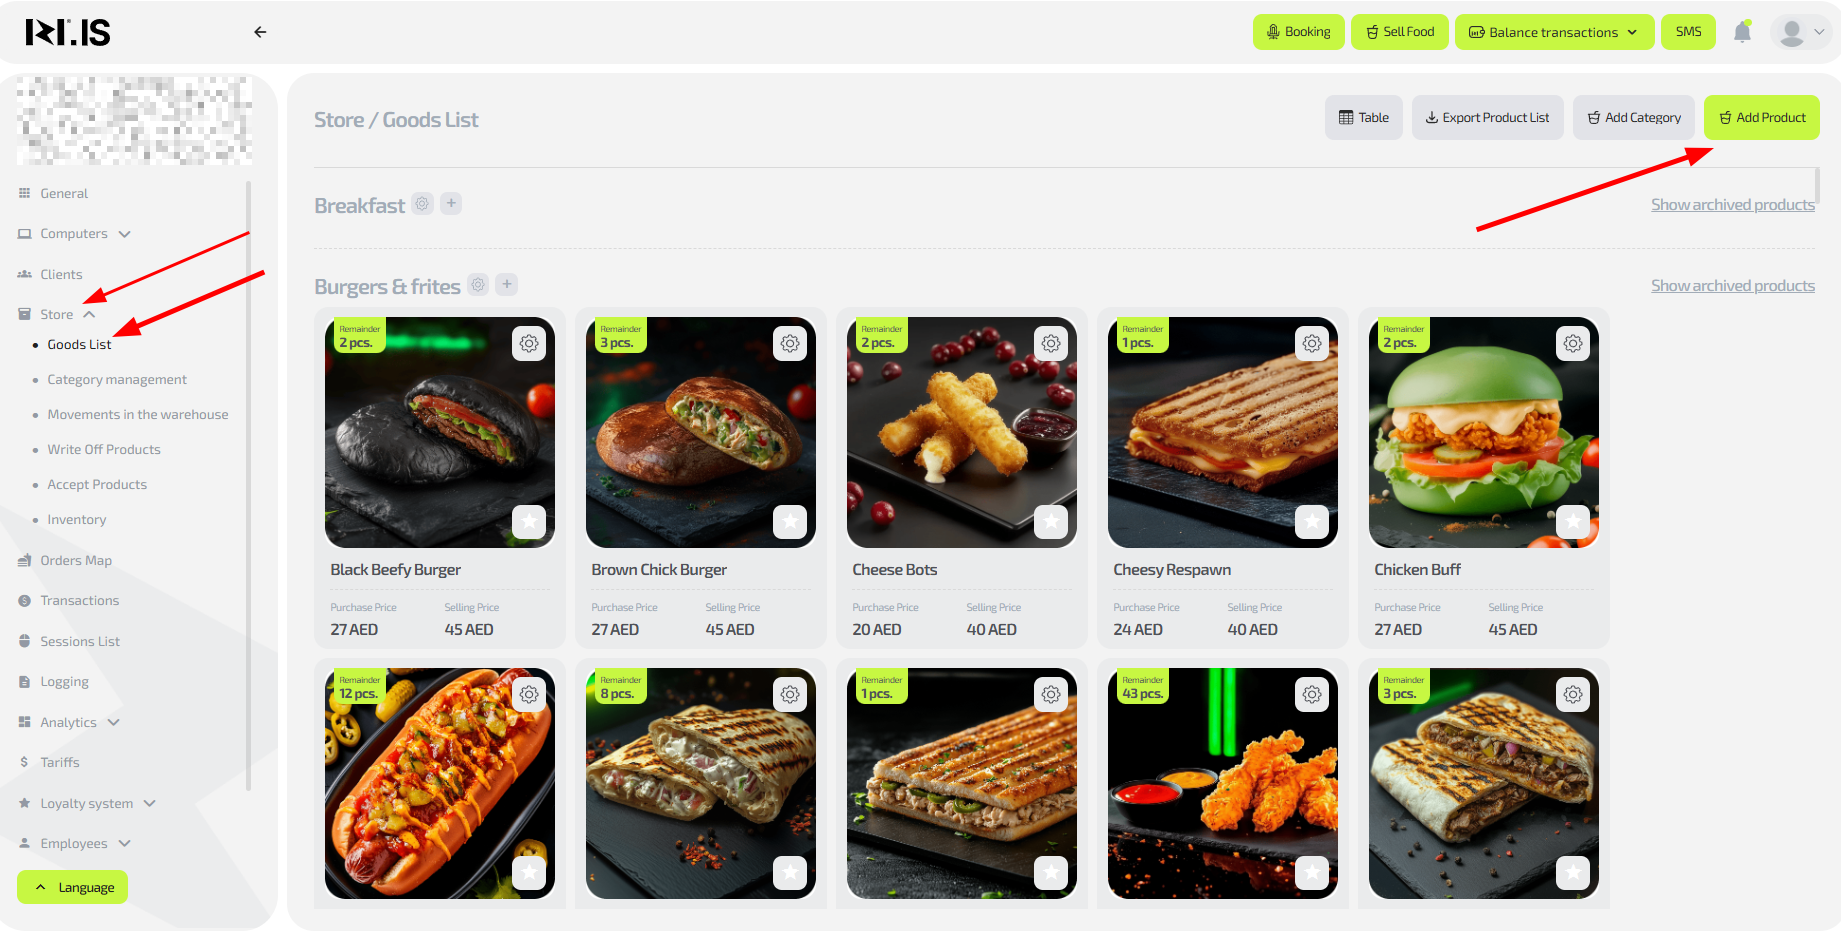
- Go to “Store” → “Items list”
- Click “Add item”
- Fill in the required fields:
- Item name
- Purchase and sale price
- Category from the dropdown list
- Gross weight
- Caloric value
- Upload an item image
- Save the item
Important: Without all required fields filled in, the system will not allow you to create an item. Caloric value is required for integration with “Chestny Znak” (Honest Sign).
Step 2. Category management
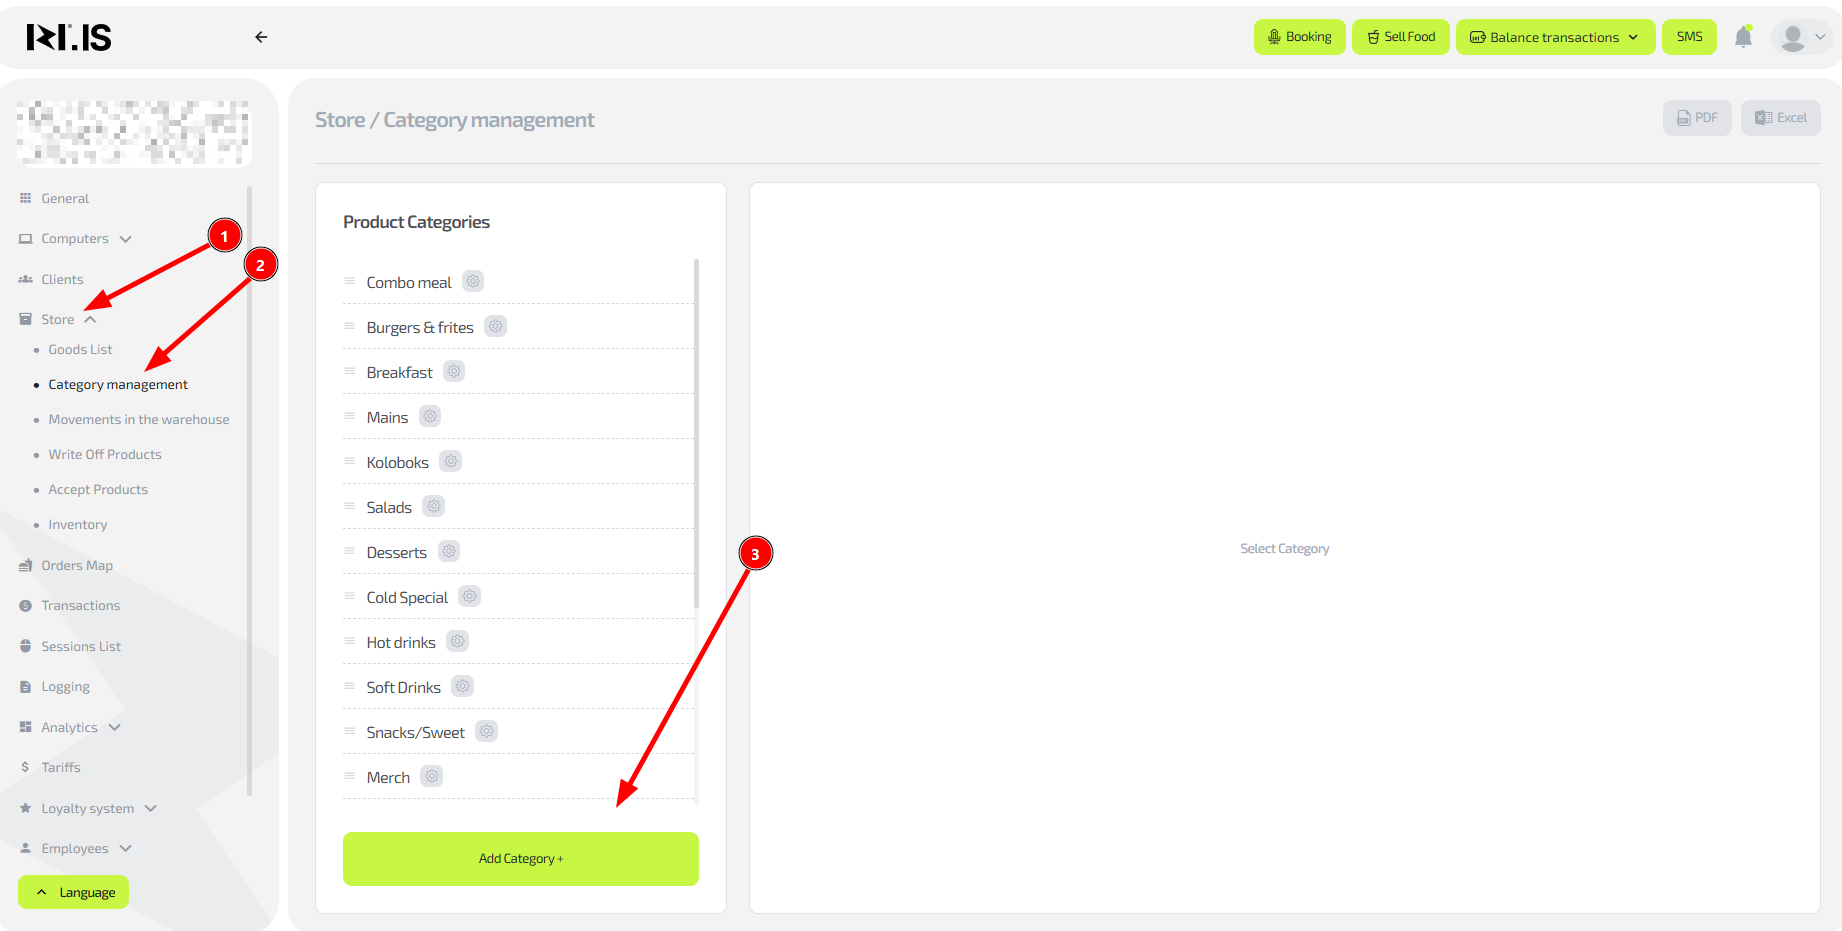
- Go to “Store” → “Category management”
- Click “Add category”
- Enter the category name (for example, “Drinks”, “Snacks”)
- Optionally upload an image for better visual representation
- Save changes
Tip: Create a logical category structure — this simplifies navigation for clients in the app and speeds up item search for administrators.
Step 3. Receiving items to the store
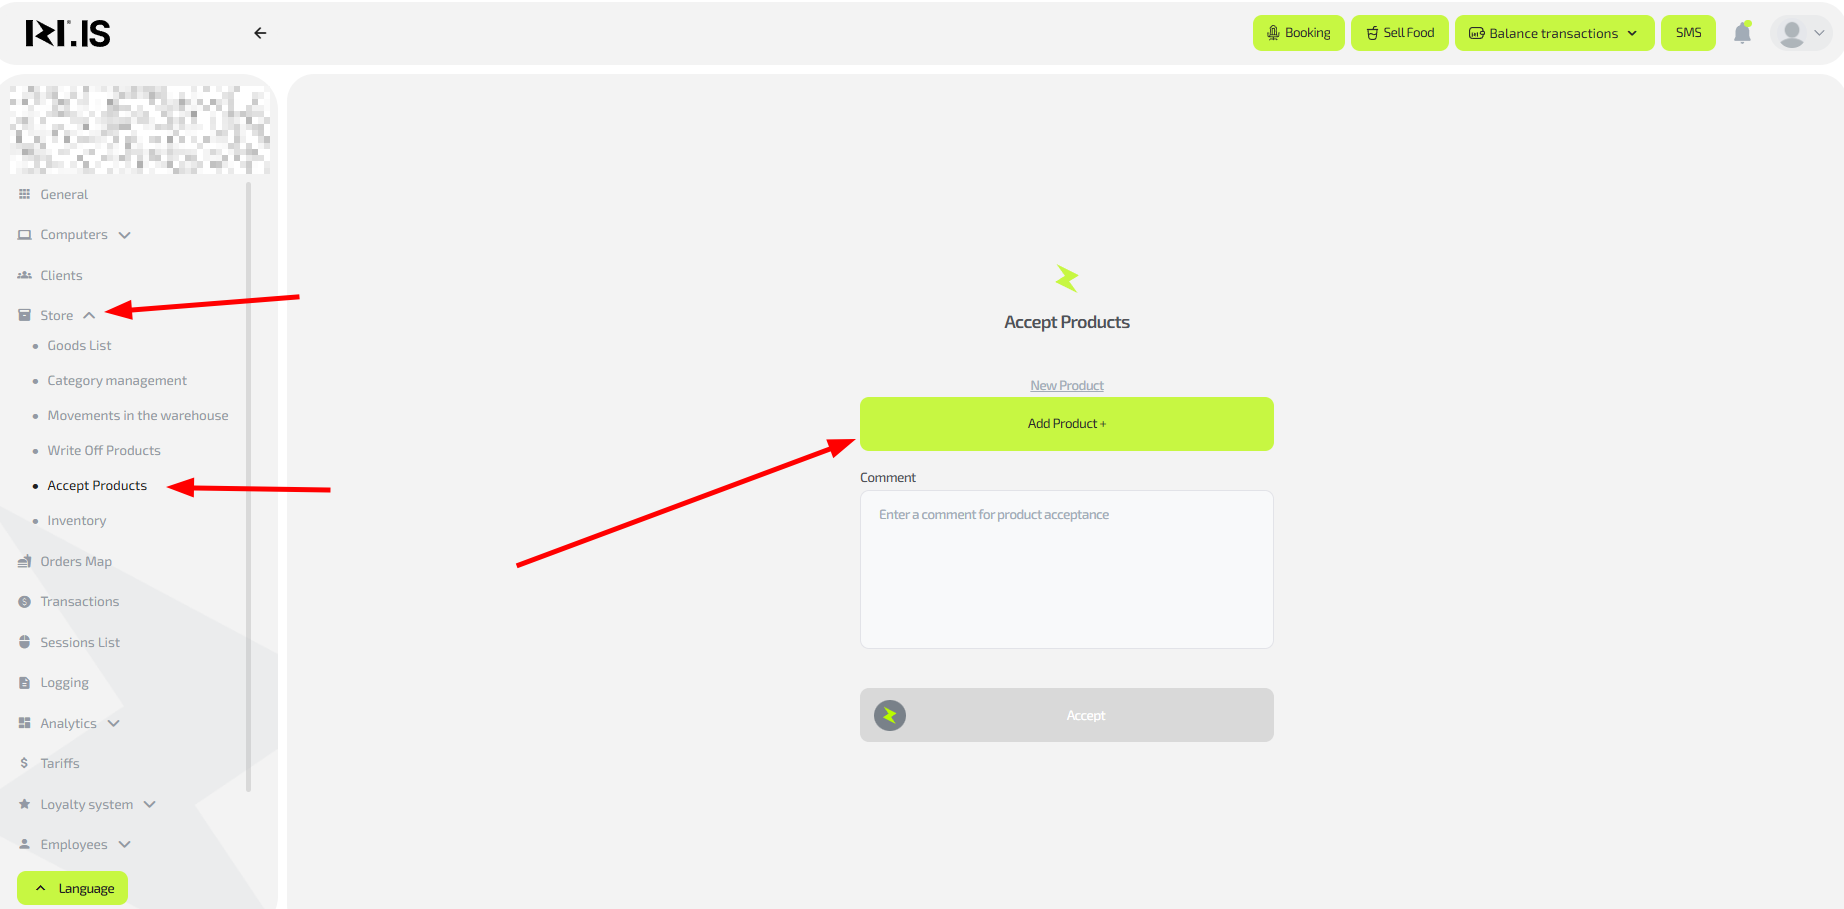
- Go to “Store” → “Receive items”
- Select the item from the dropdown list
- Specify the quantity of units
- Check that prices and other parameters are correct
- Confirm the receipt
Tip: Regularly compare received quantities with supplier invoices to avoid discrepancies in accounting.
Step 4. Writing off items
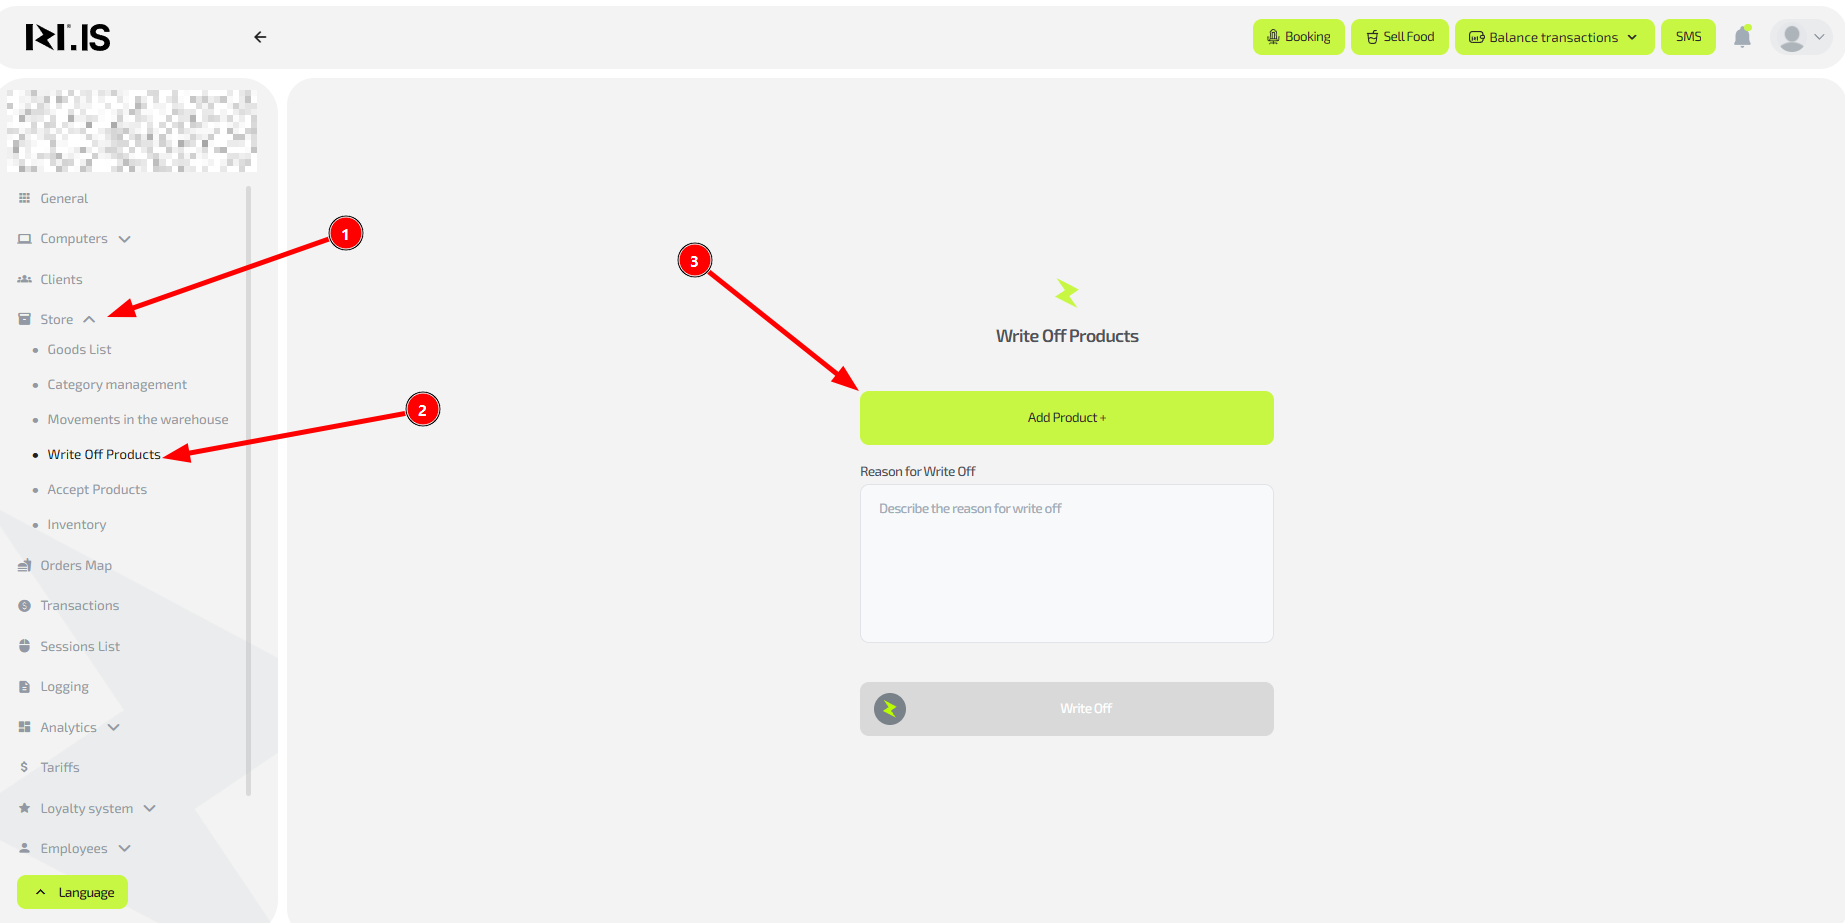
- Go to “Store” → “Write off items”
- Select the reason for write-off (expired, damaged, etc.)
- Specify the item and the quantity to write off
- Add a comment explaining the reason
- Confirm the operation
Important: Always specify a reason for write-off — this is required for audit and loss analysis.
Step 5. Analyzing store movements

- Go to “Store” → “Store movements”
- Use filters by date and operation type
- Analyze the history of receipts, write-offs and sales
- Identify items with abnormal turnover
Tip: Regular movement analysis helps optimize purchasing and detect issues at an early stage.
Step 6. Performing inventory

- Go to “Store” → “Inventory”
- Create a new inventory session
- Enter actual stock counts for each item
- Compare with system data
- Confirm discrepancies and apply adjustments
Important: Perform inventory regularly – this helps detect systemic errors and control item safety.
Common situations
| Problem | What to do |
|---|---|
| Item is created but not shown for sale | Check whether you received the item into stock in the “Receive items” section. Without receipt the item is not available for sale |
| Cannot find an item in the list during receipt | Make sure the item is created in the “Items list” and is not archived. Check search filters |
| Incorrect sale price specified | Edit the item in the “Items list”. Price changes are applied immediately to new sales |
| Item was sold but not deducted from stock | Use manual write-off in the “Write off items” section. Check Internet stability at the time of sale |
| Cannot create an item because the system requires calories | Calculate caloric value using manufacturer data. This field is required for integration with “Chestny Znak” |
| Large discrepancies during inventory | Perform an unscheduled check and analyze causes in “Store movements” |
| Client cannot find an item in the app | Check category assignment and item activity in the system. Make sure stock is available |