2.4 Client seating: assigning a seat and registration
Goal of the article
Understand the logic of the seat assignment process and carry it out from choosing a client to receiving payment. This is the key process where any gaming session starts and an order is formed.
Who this article is for
Administrators, cashiers, floor managers.
What you will learn
- How to work with different types of clients: new, regular and without a phone number.
- How to correctly register a new client and confirm their phone number.
- How to select a service package and add bar items to the order.
- How to complete the transaction and know that the client has been successfully seated.
Prerequisites
Before you start, make sure that:
- You are logged into the admin panel and have permissions to assign seats.
- Tariffs, packages and bar items are configured in the system.
- You have a payment terminal at hand (if required).
Step-by-step instructions
Step 1
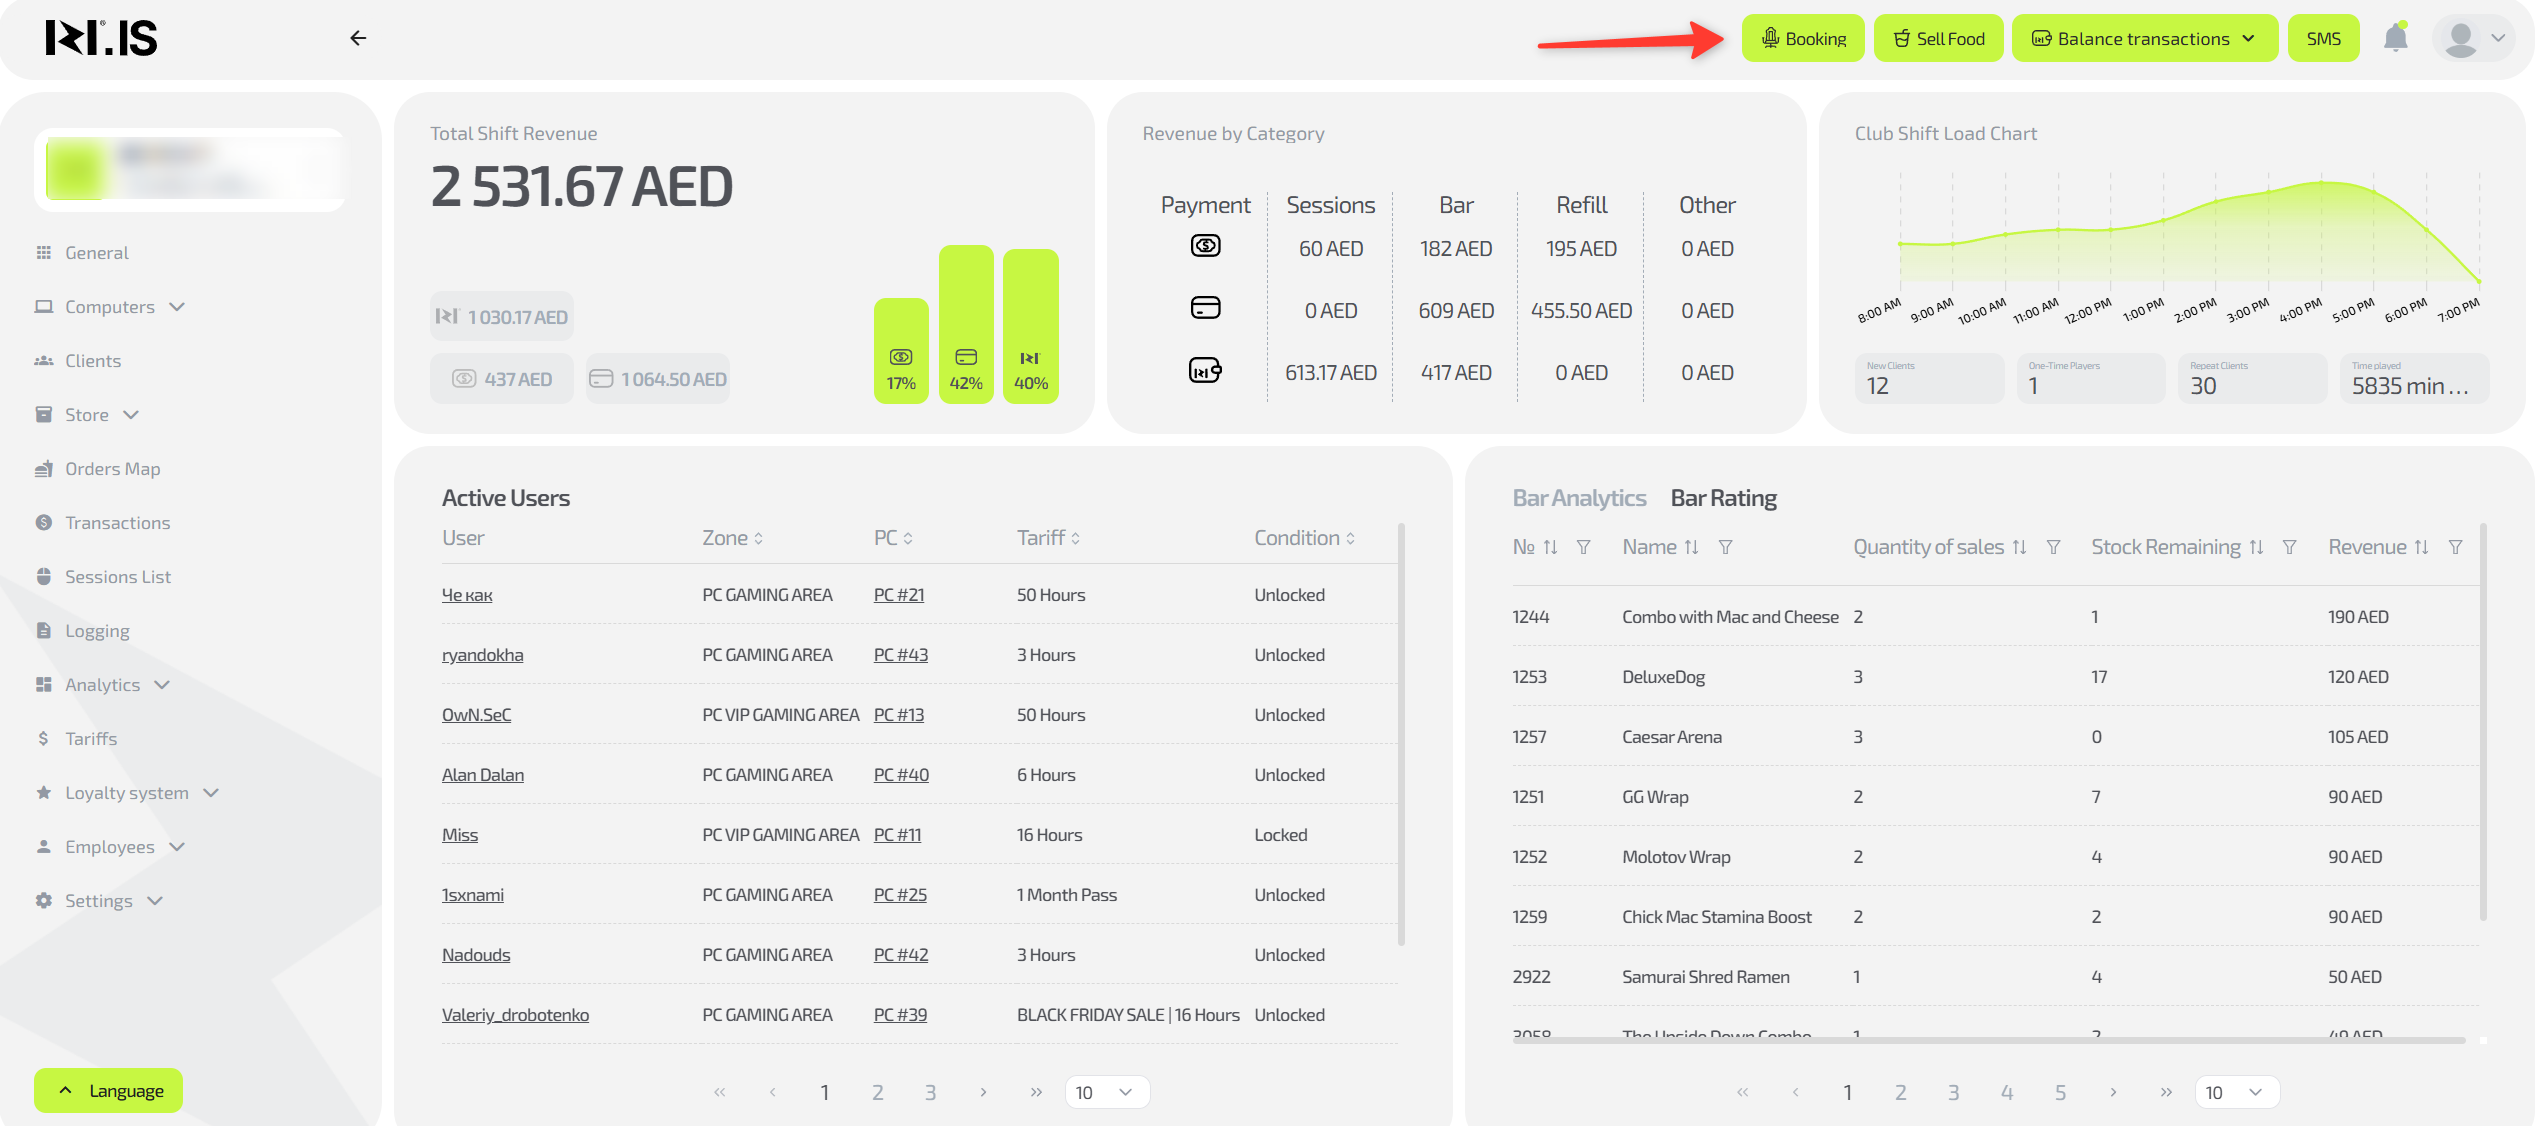
In the top right corner, click the “Assign seat” button.
Step 2
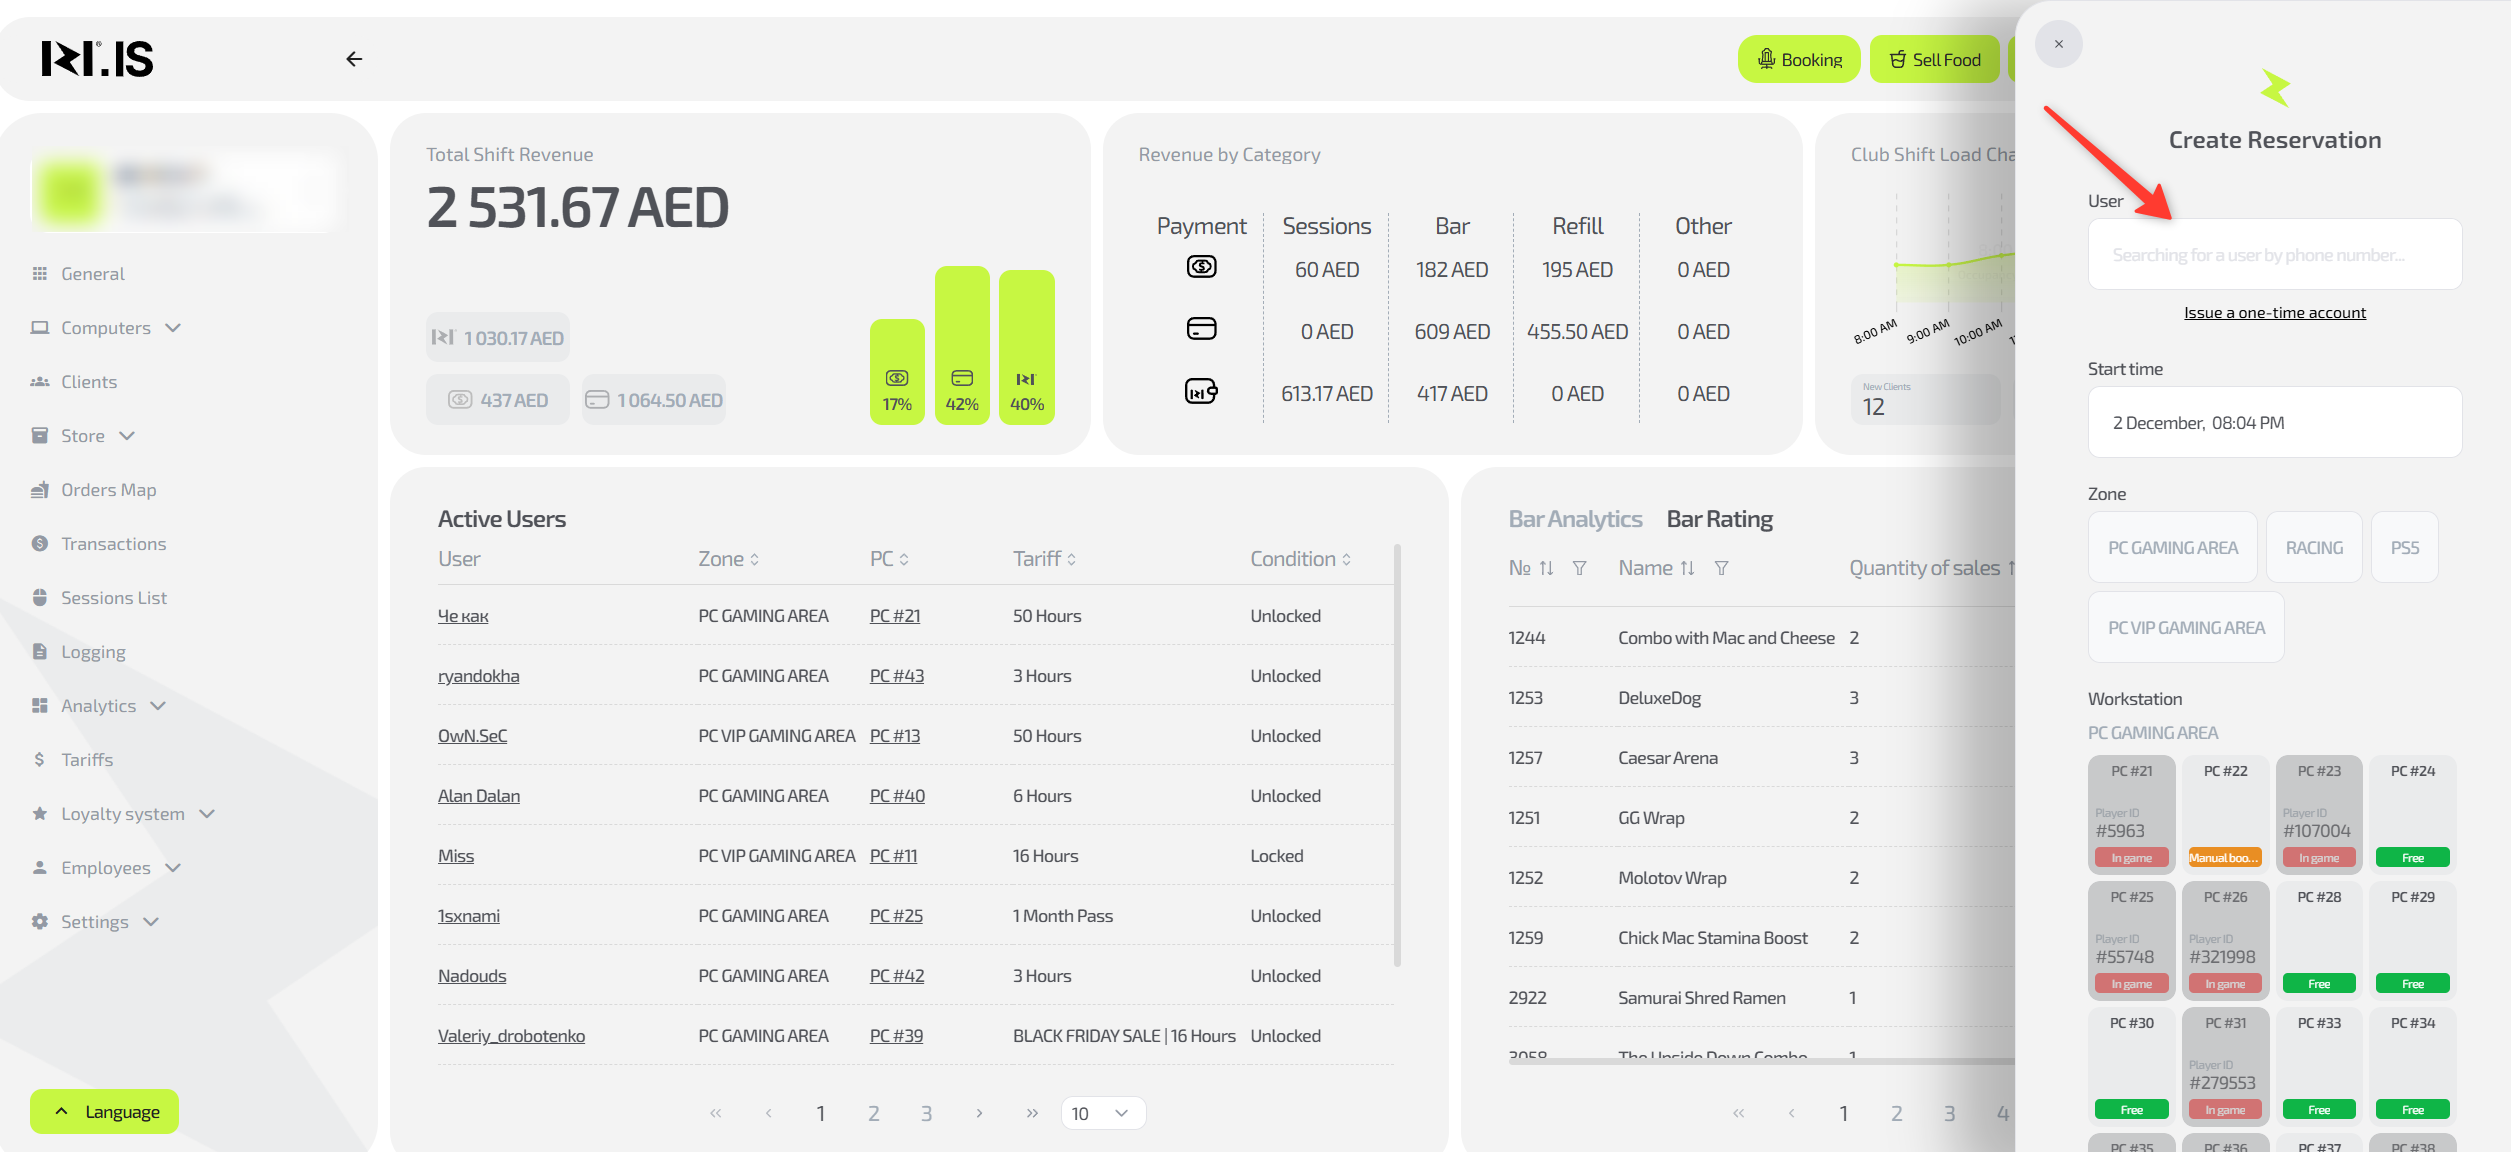
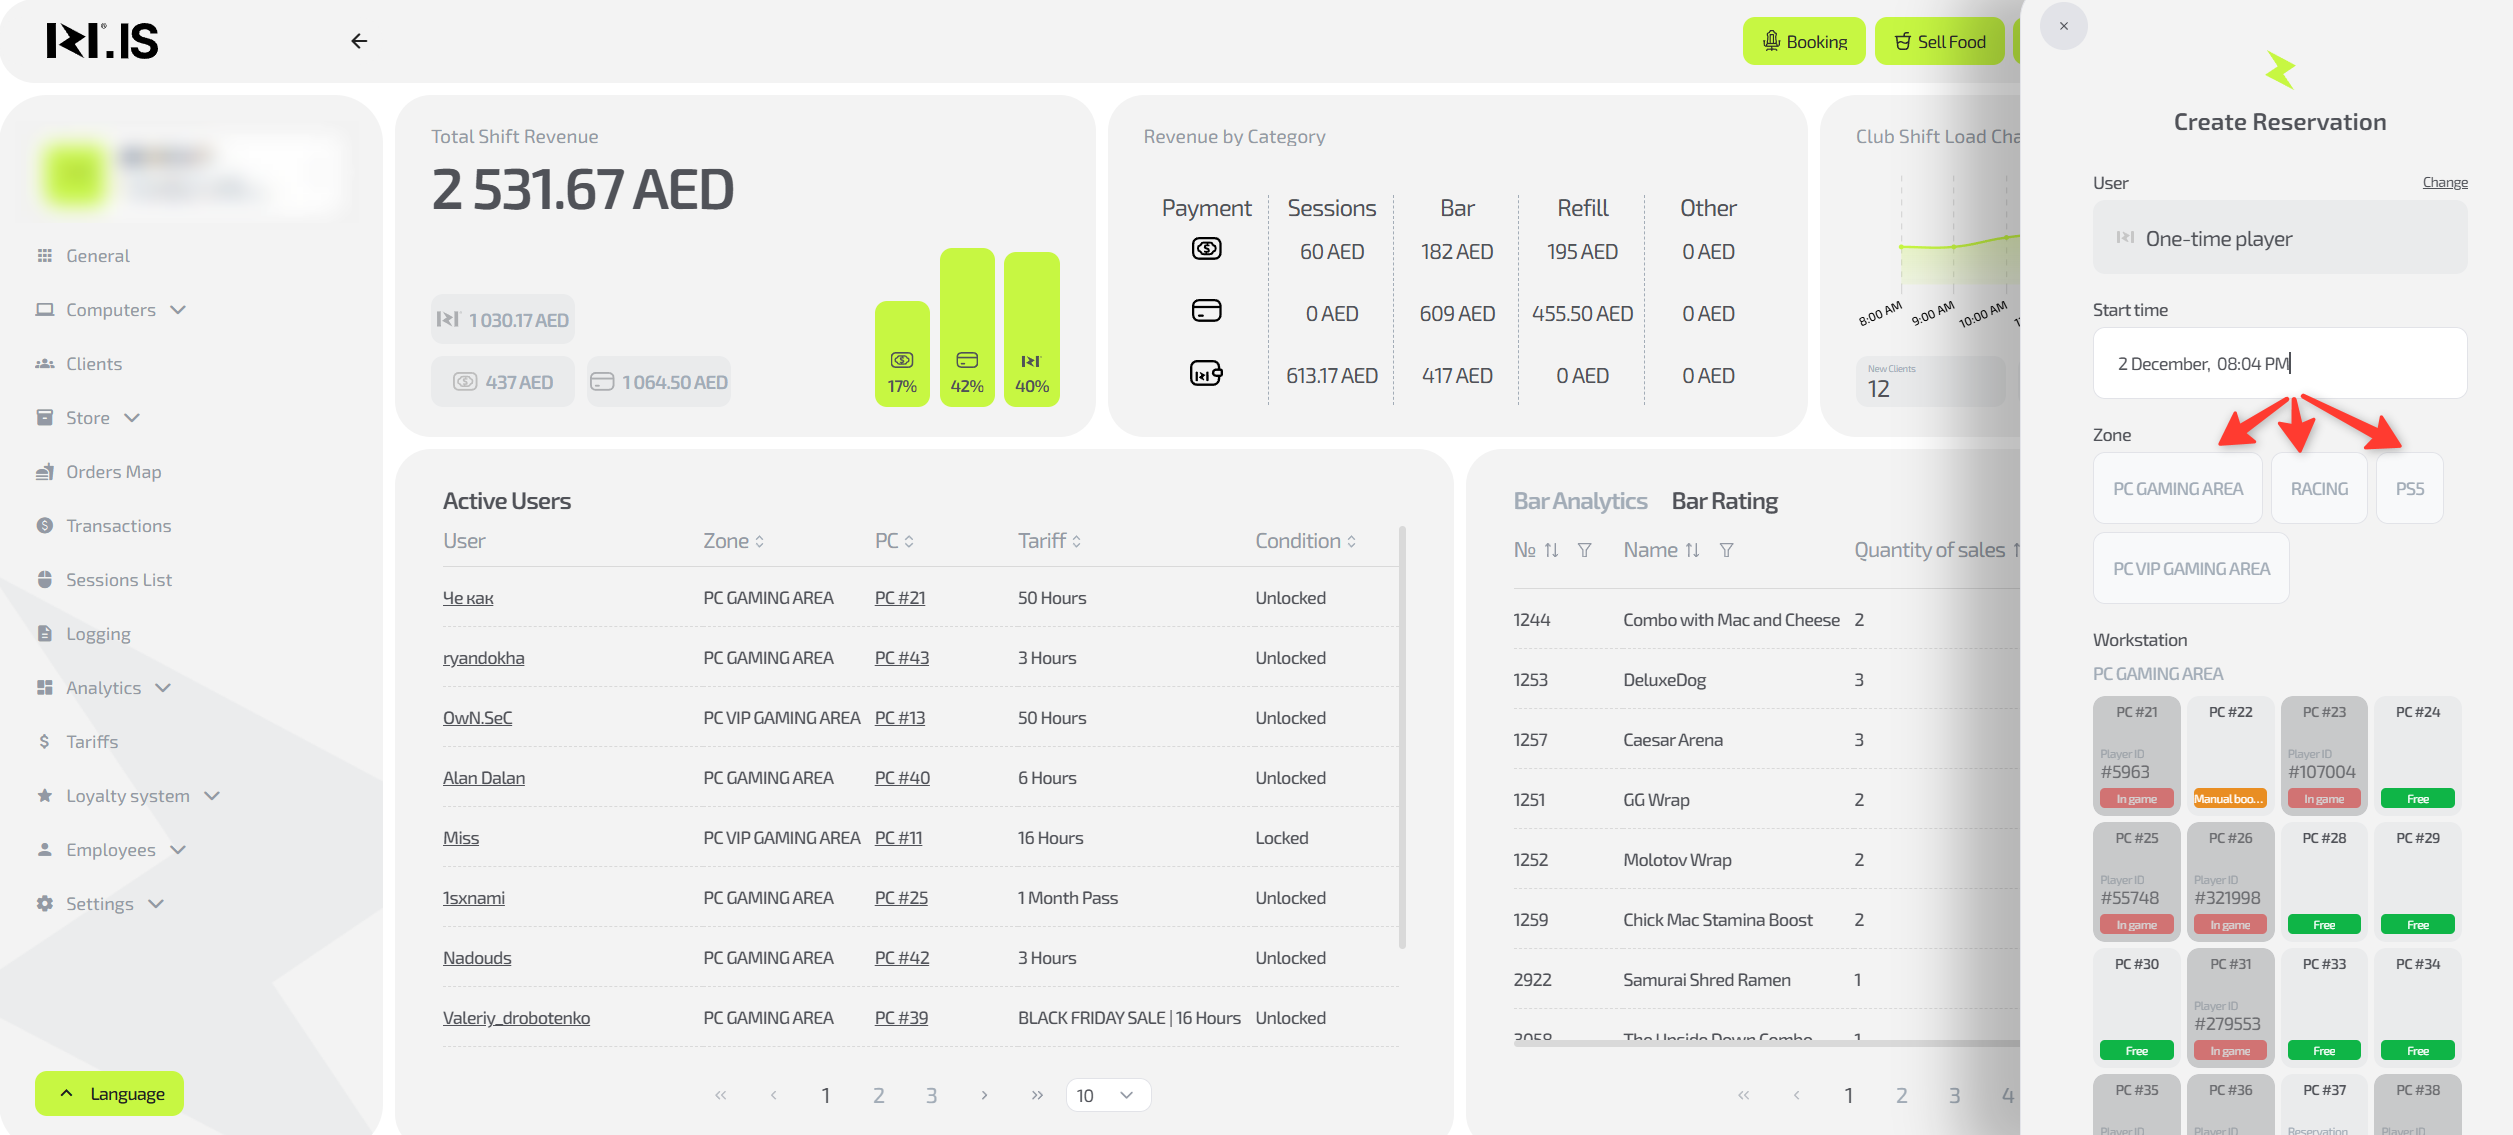
In the window that opens, you need to select a client. There are several options:
- Issue a one-time account — convenient if the client does not have a phone with them.
- Enter the phone number of a registered client and select them from the suggestion under the input field. You can enter part of the number, but at least 4 digits.
- Enter the phone number of a new client. In this case you will be prompted to register them.
To confirm the registration, you need to send a call-code to the phone number specified during registration. If the call-code does not arrive, you can request an SMS. If both methods do not work, please contact support.
Step 3
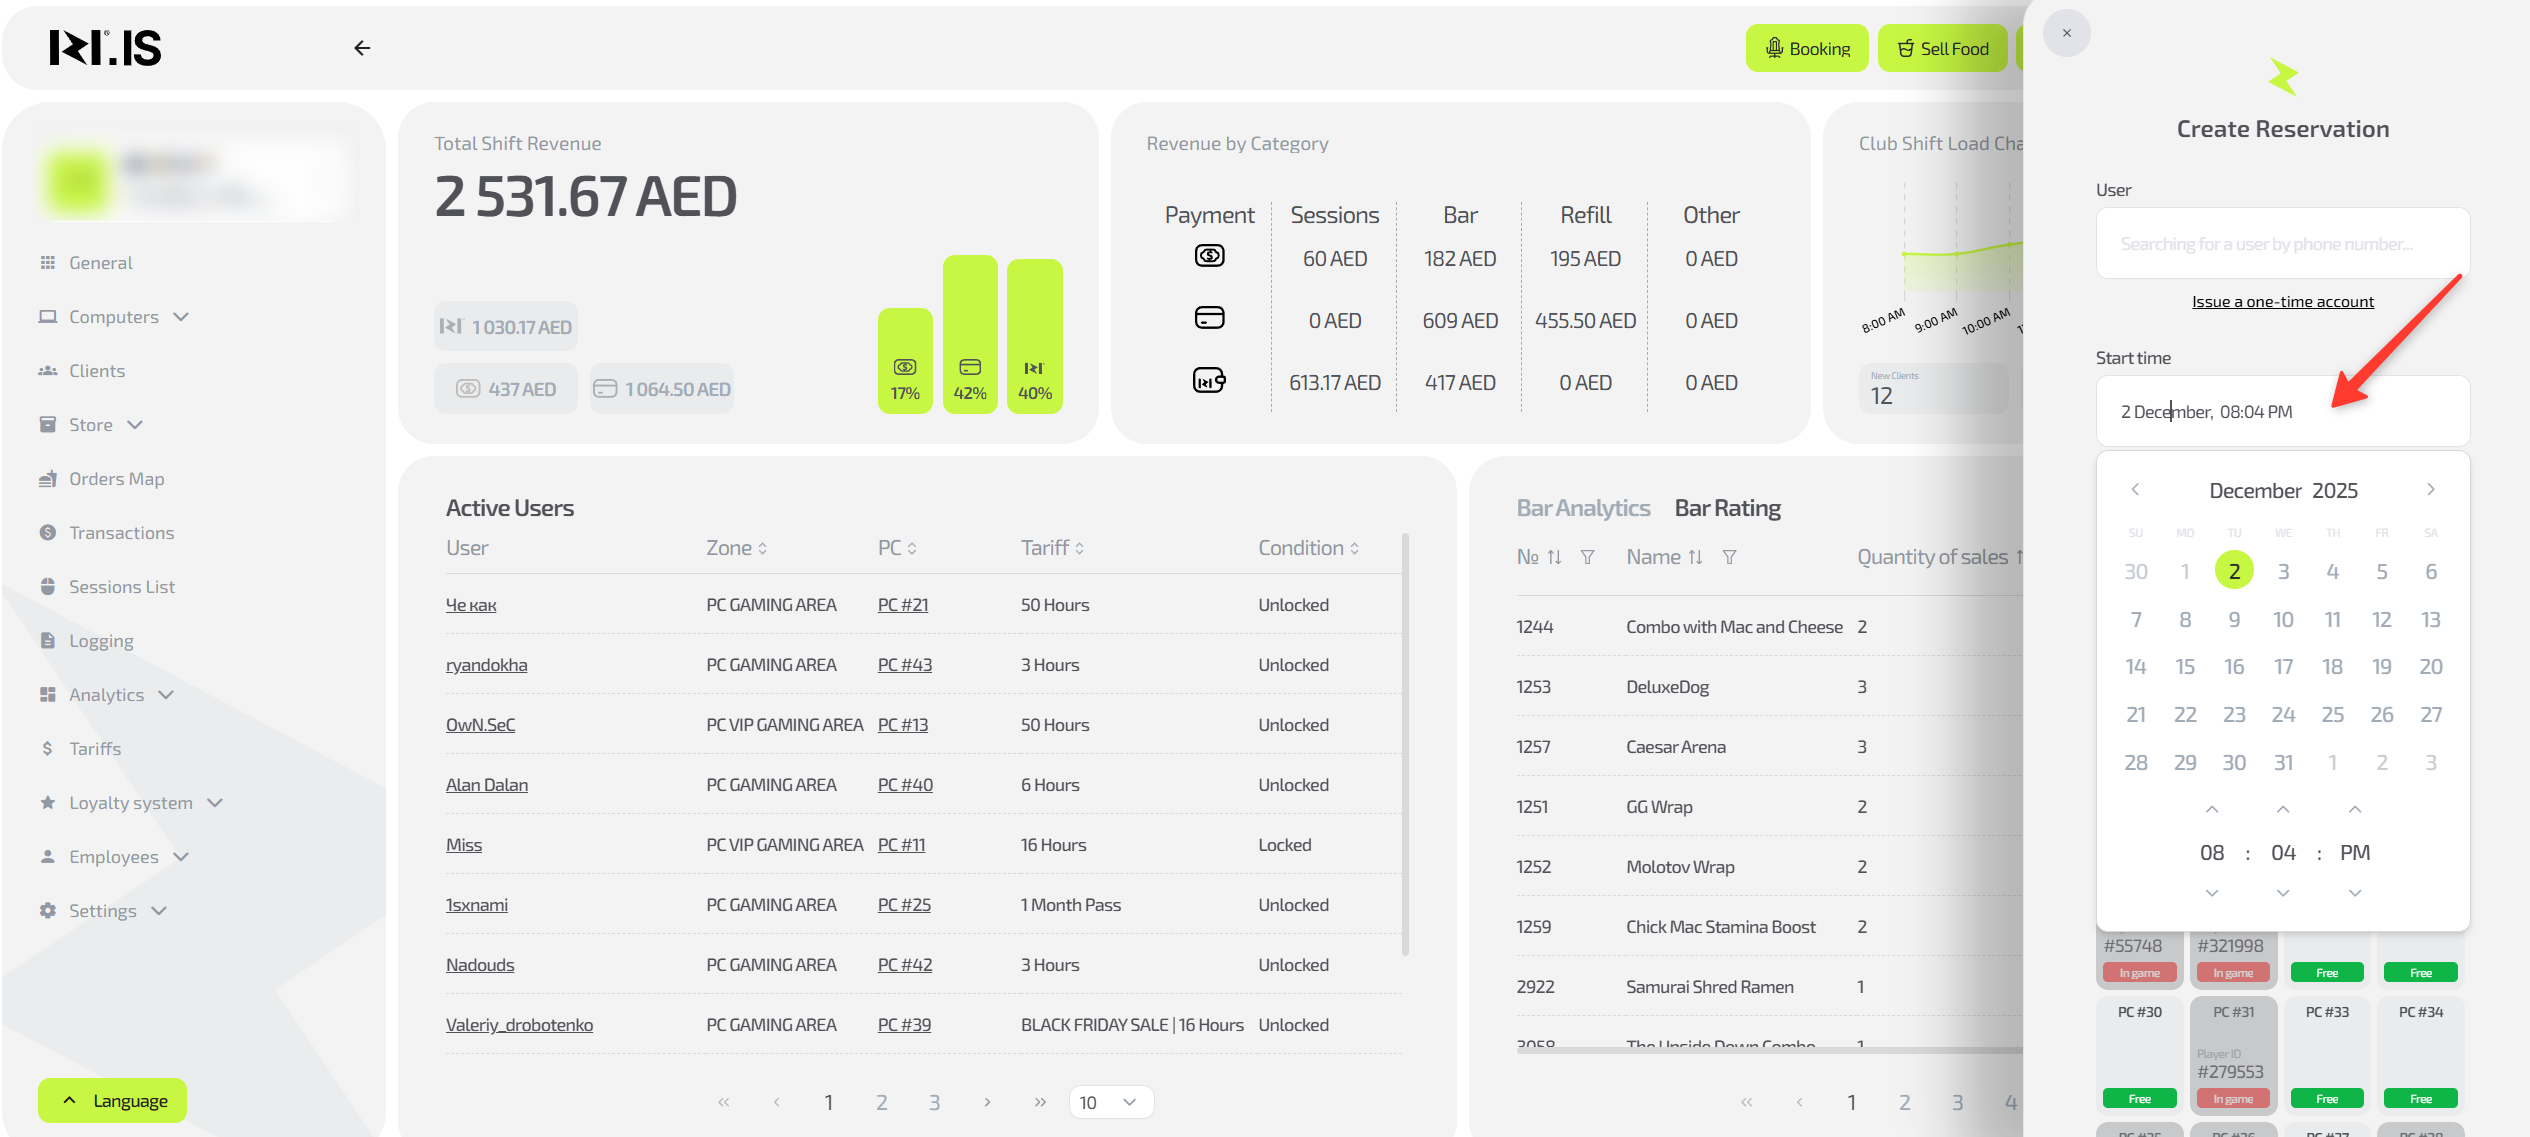
Select the date and time when the session should start.
By default, the current date and time are set — in this case, the session will start immediately after you complete the seat assignment.
Step 4
Select the Zone in which you want to reserve the seat.
Step 5
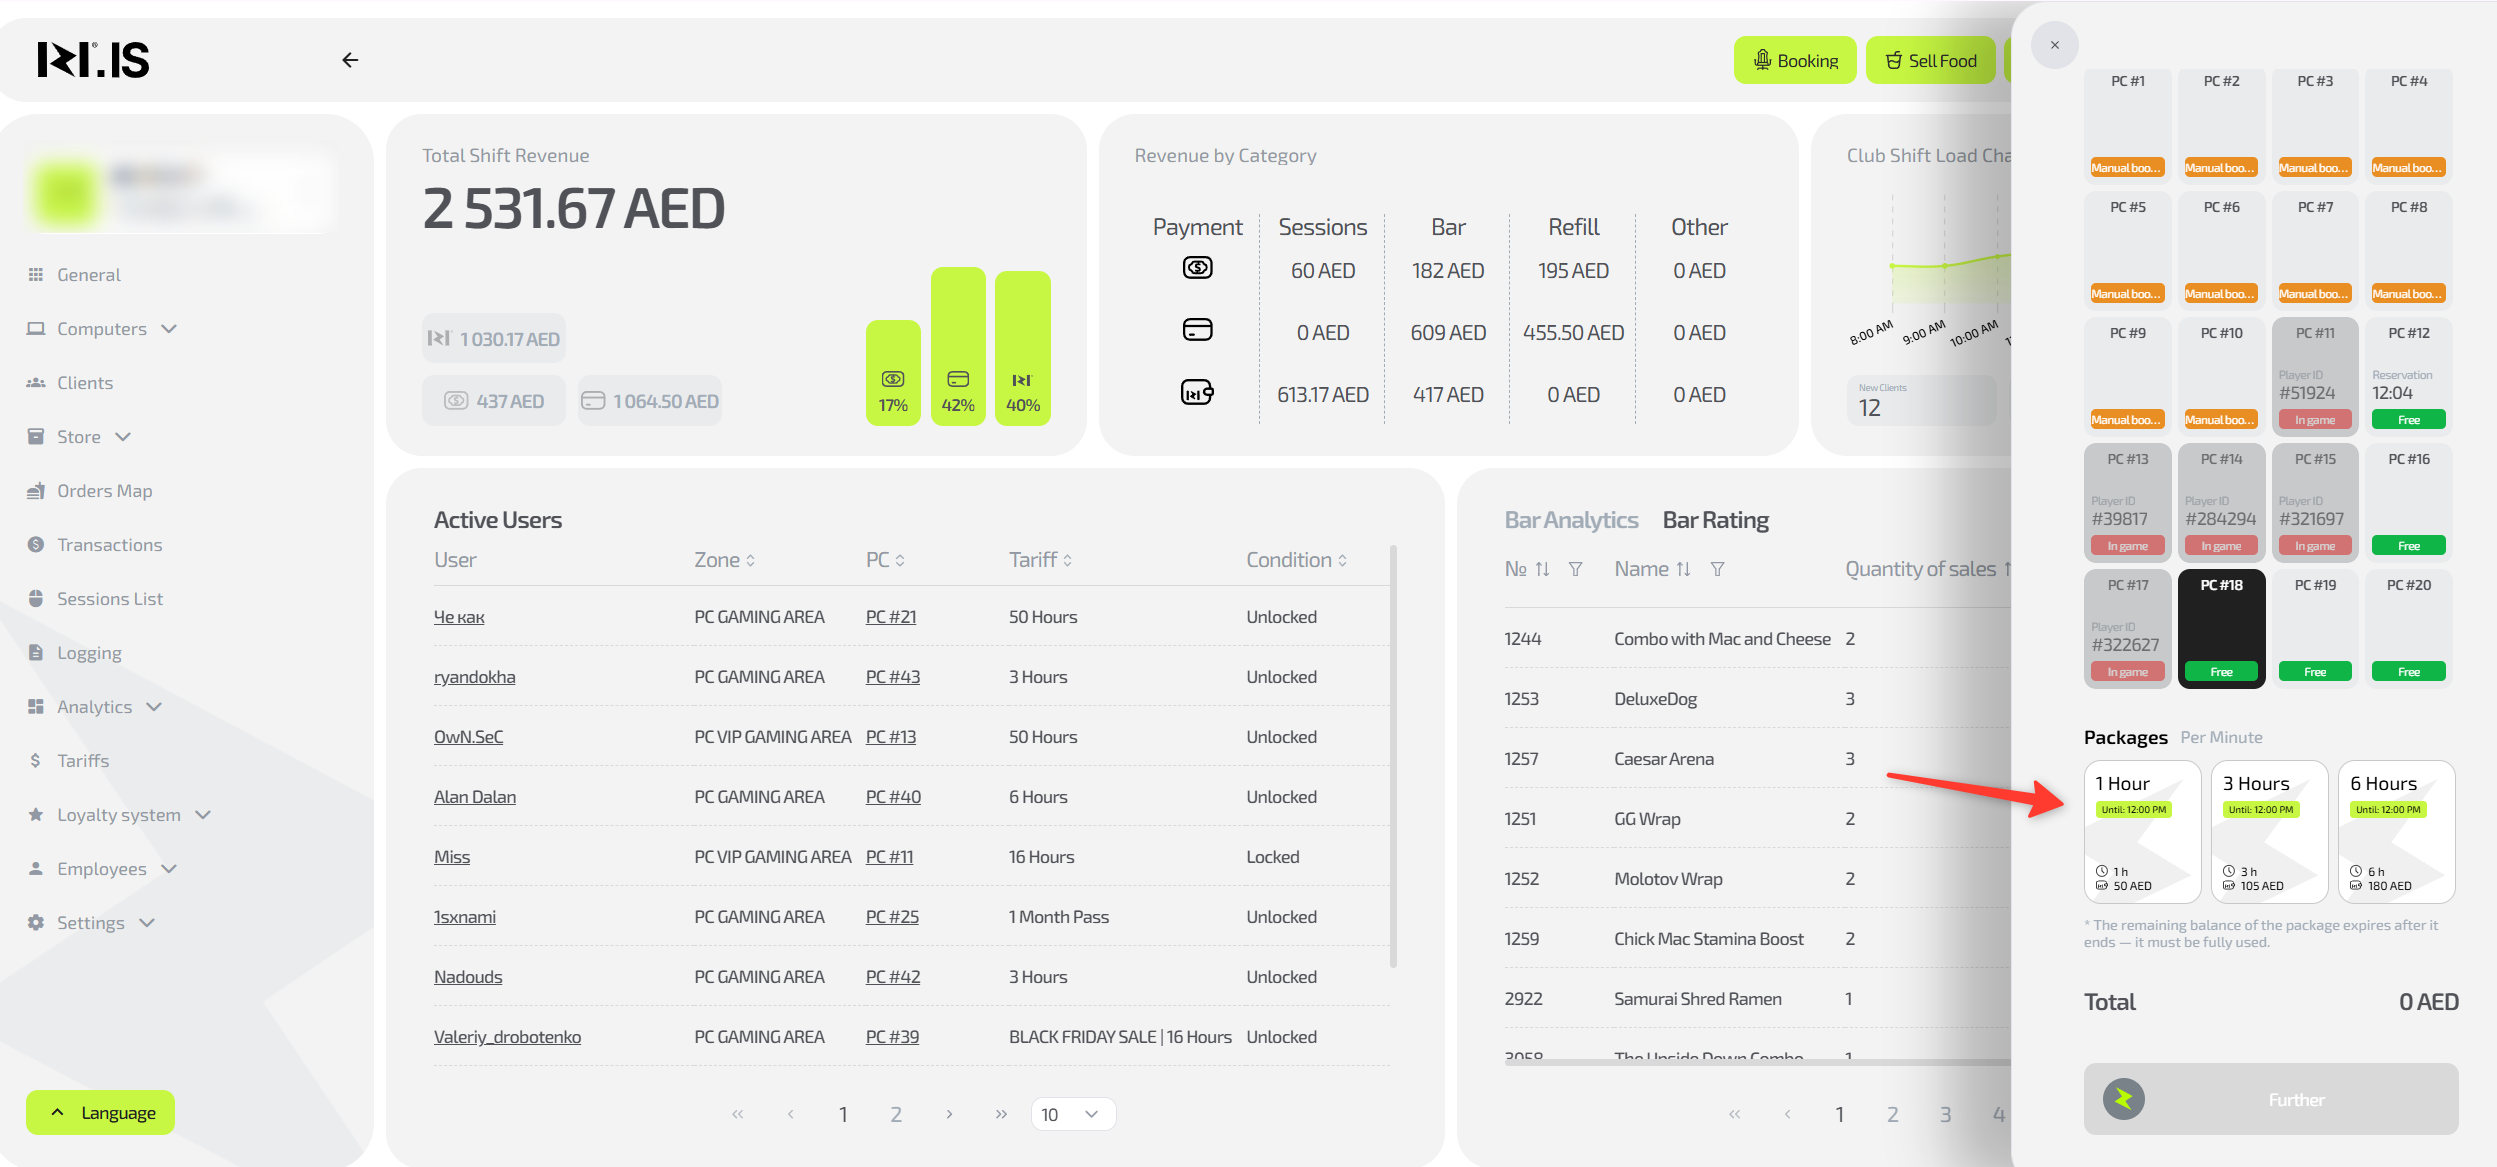
Select the tariff to be purchased.
Step 6
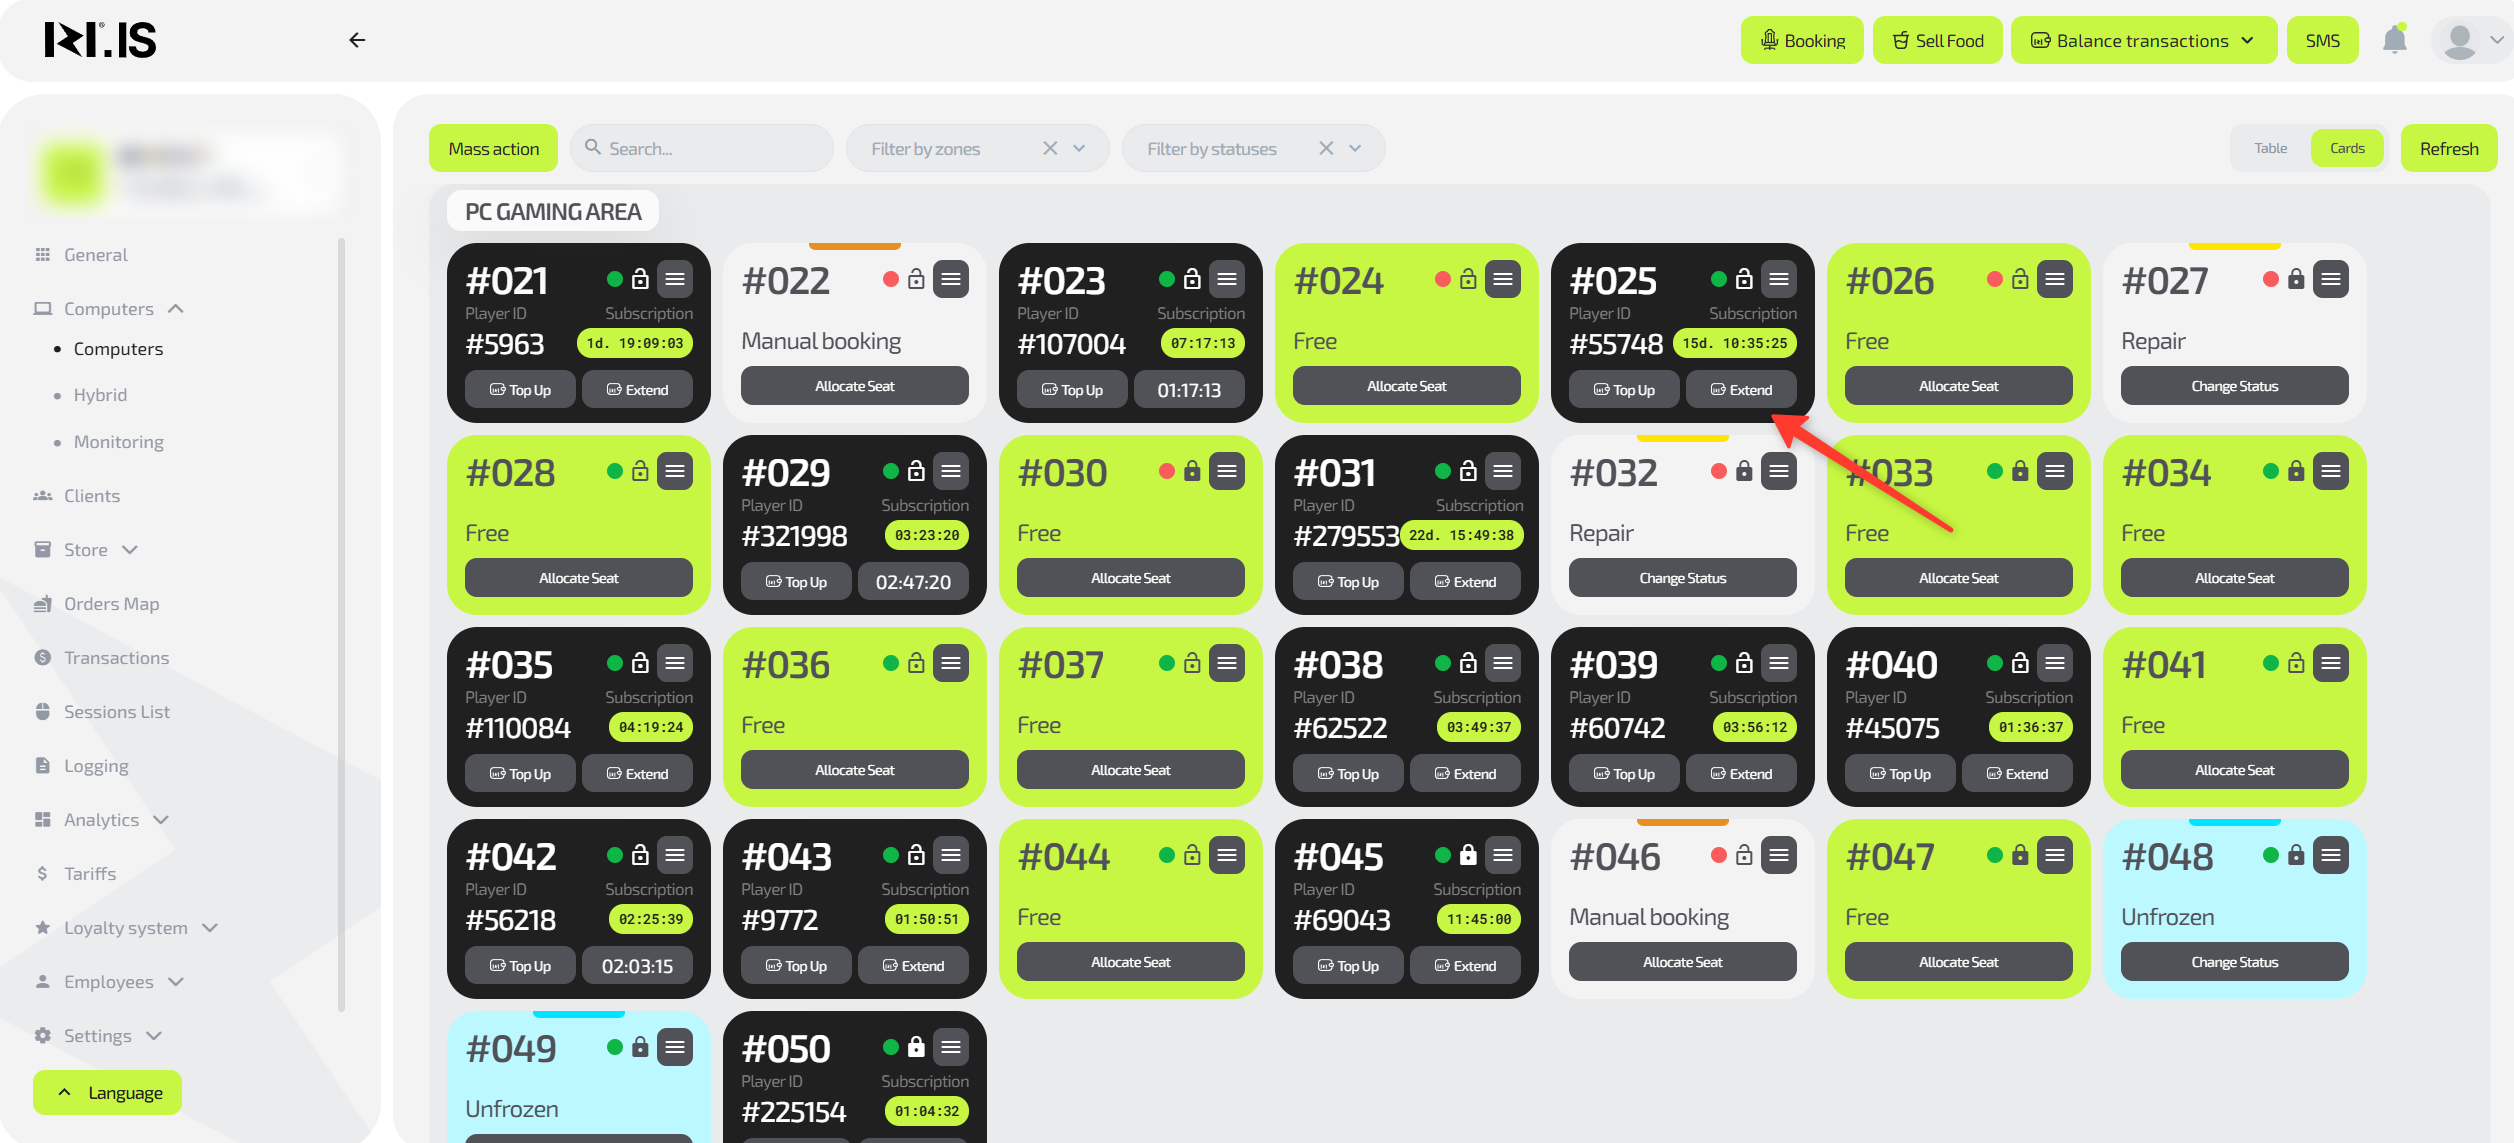
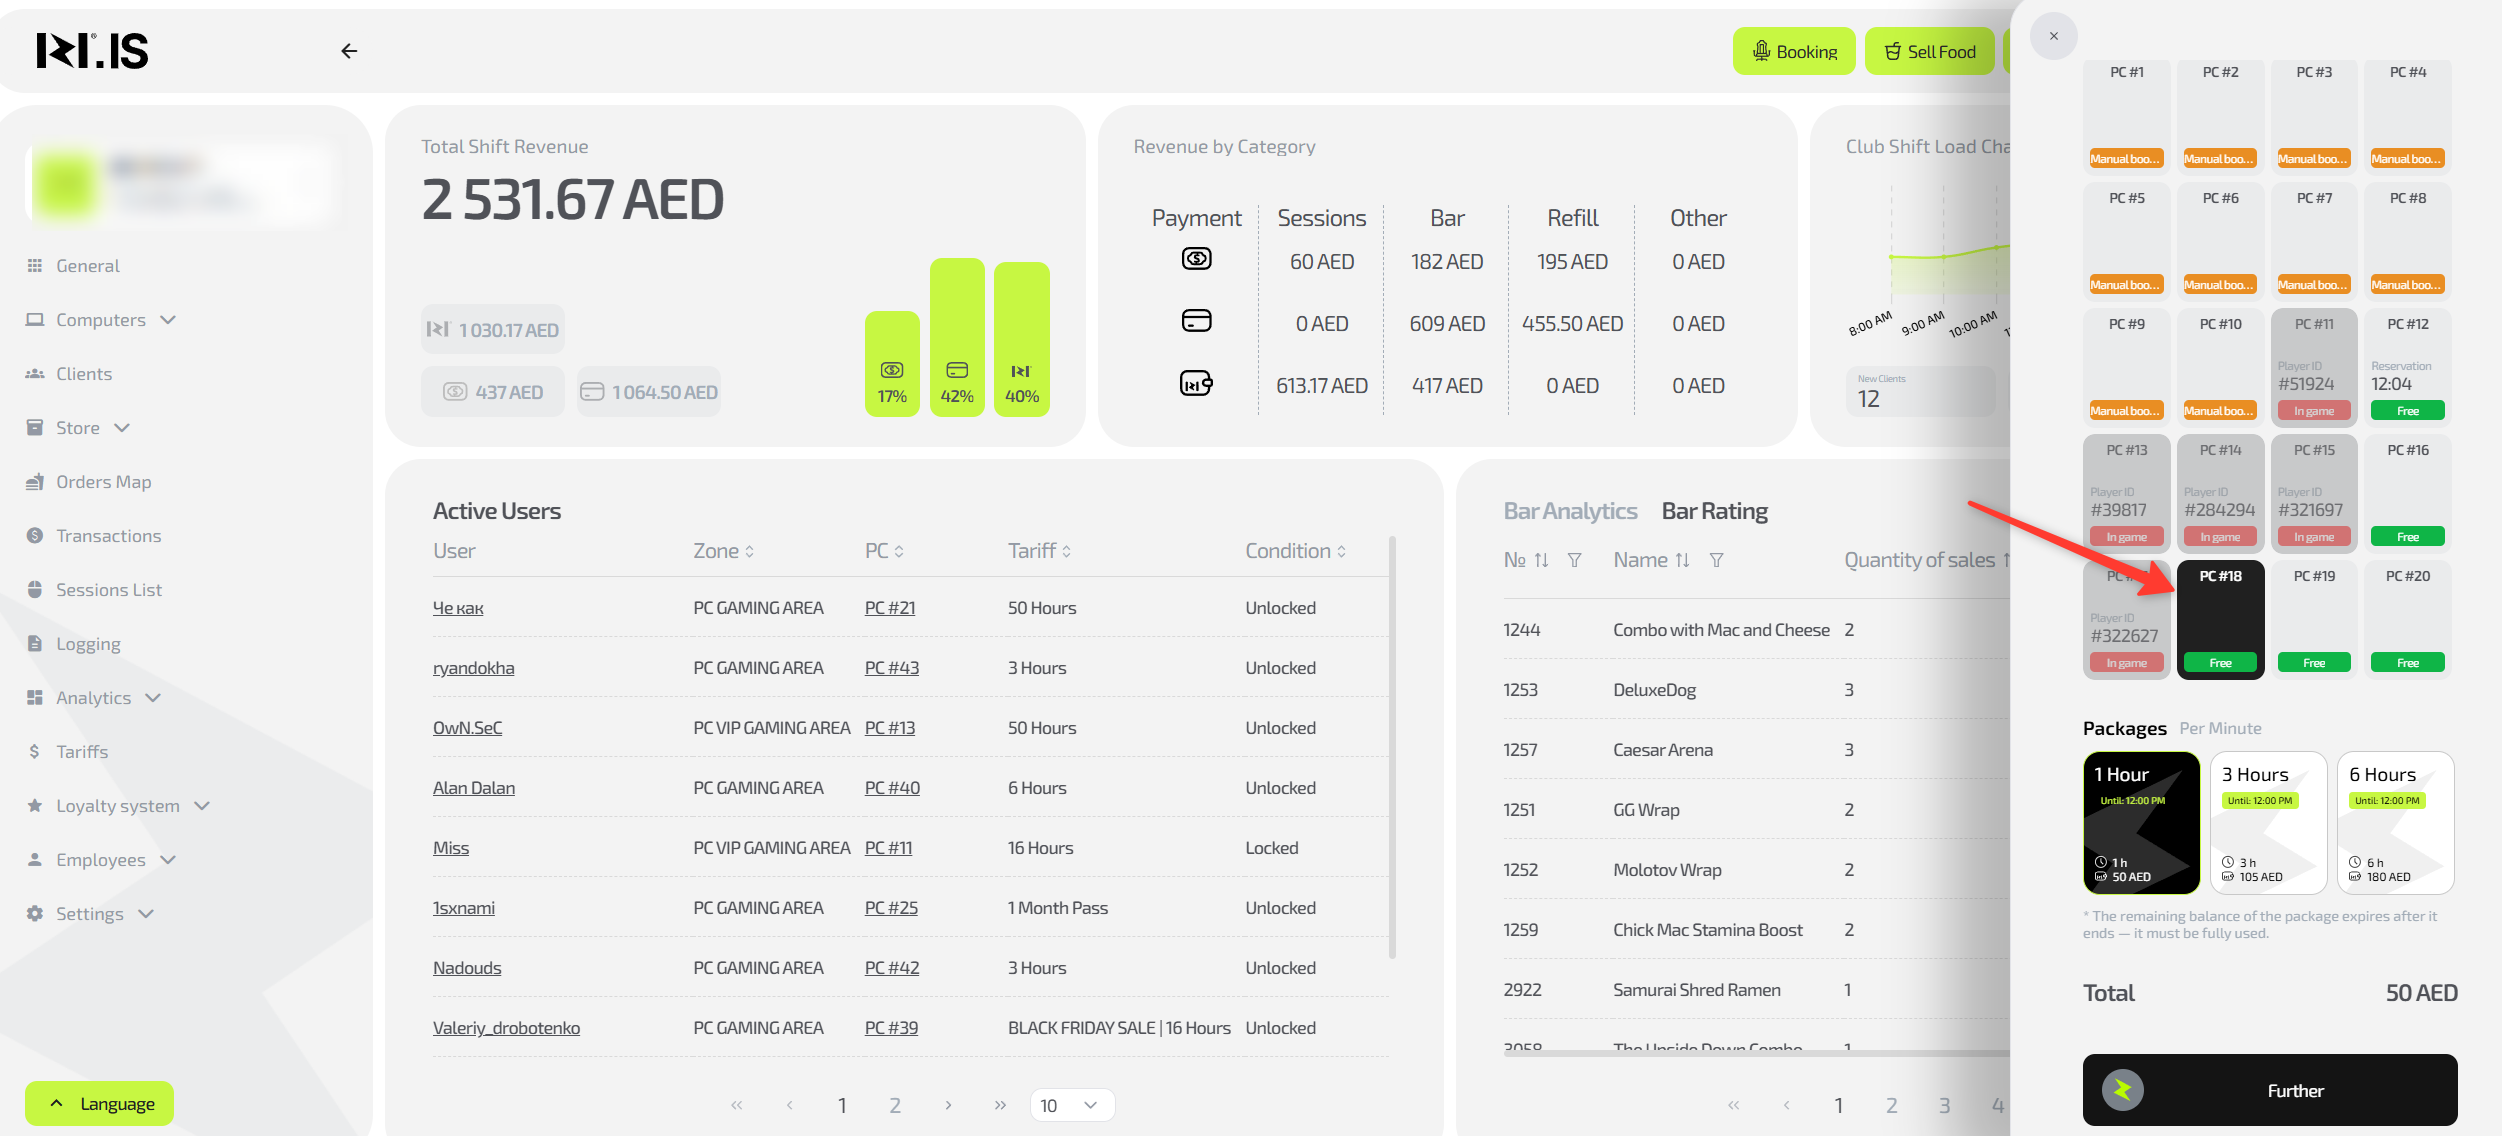
Select a seat.
Step 7
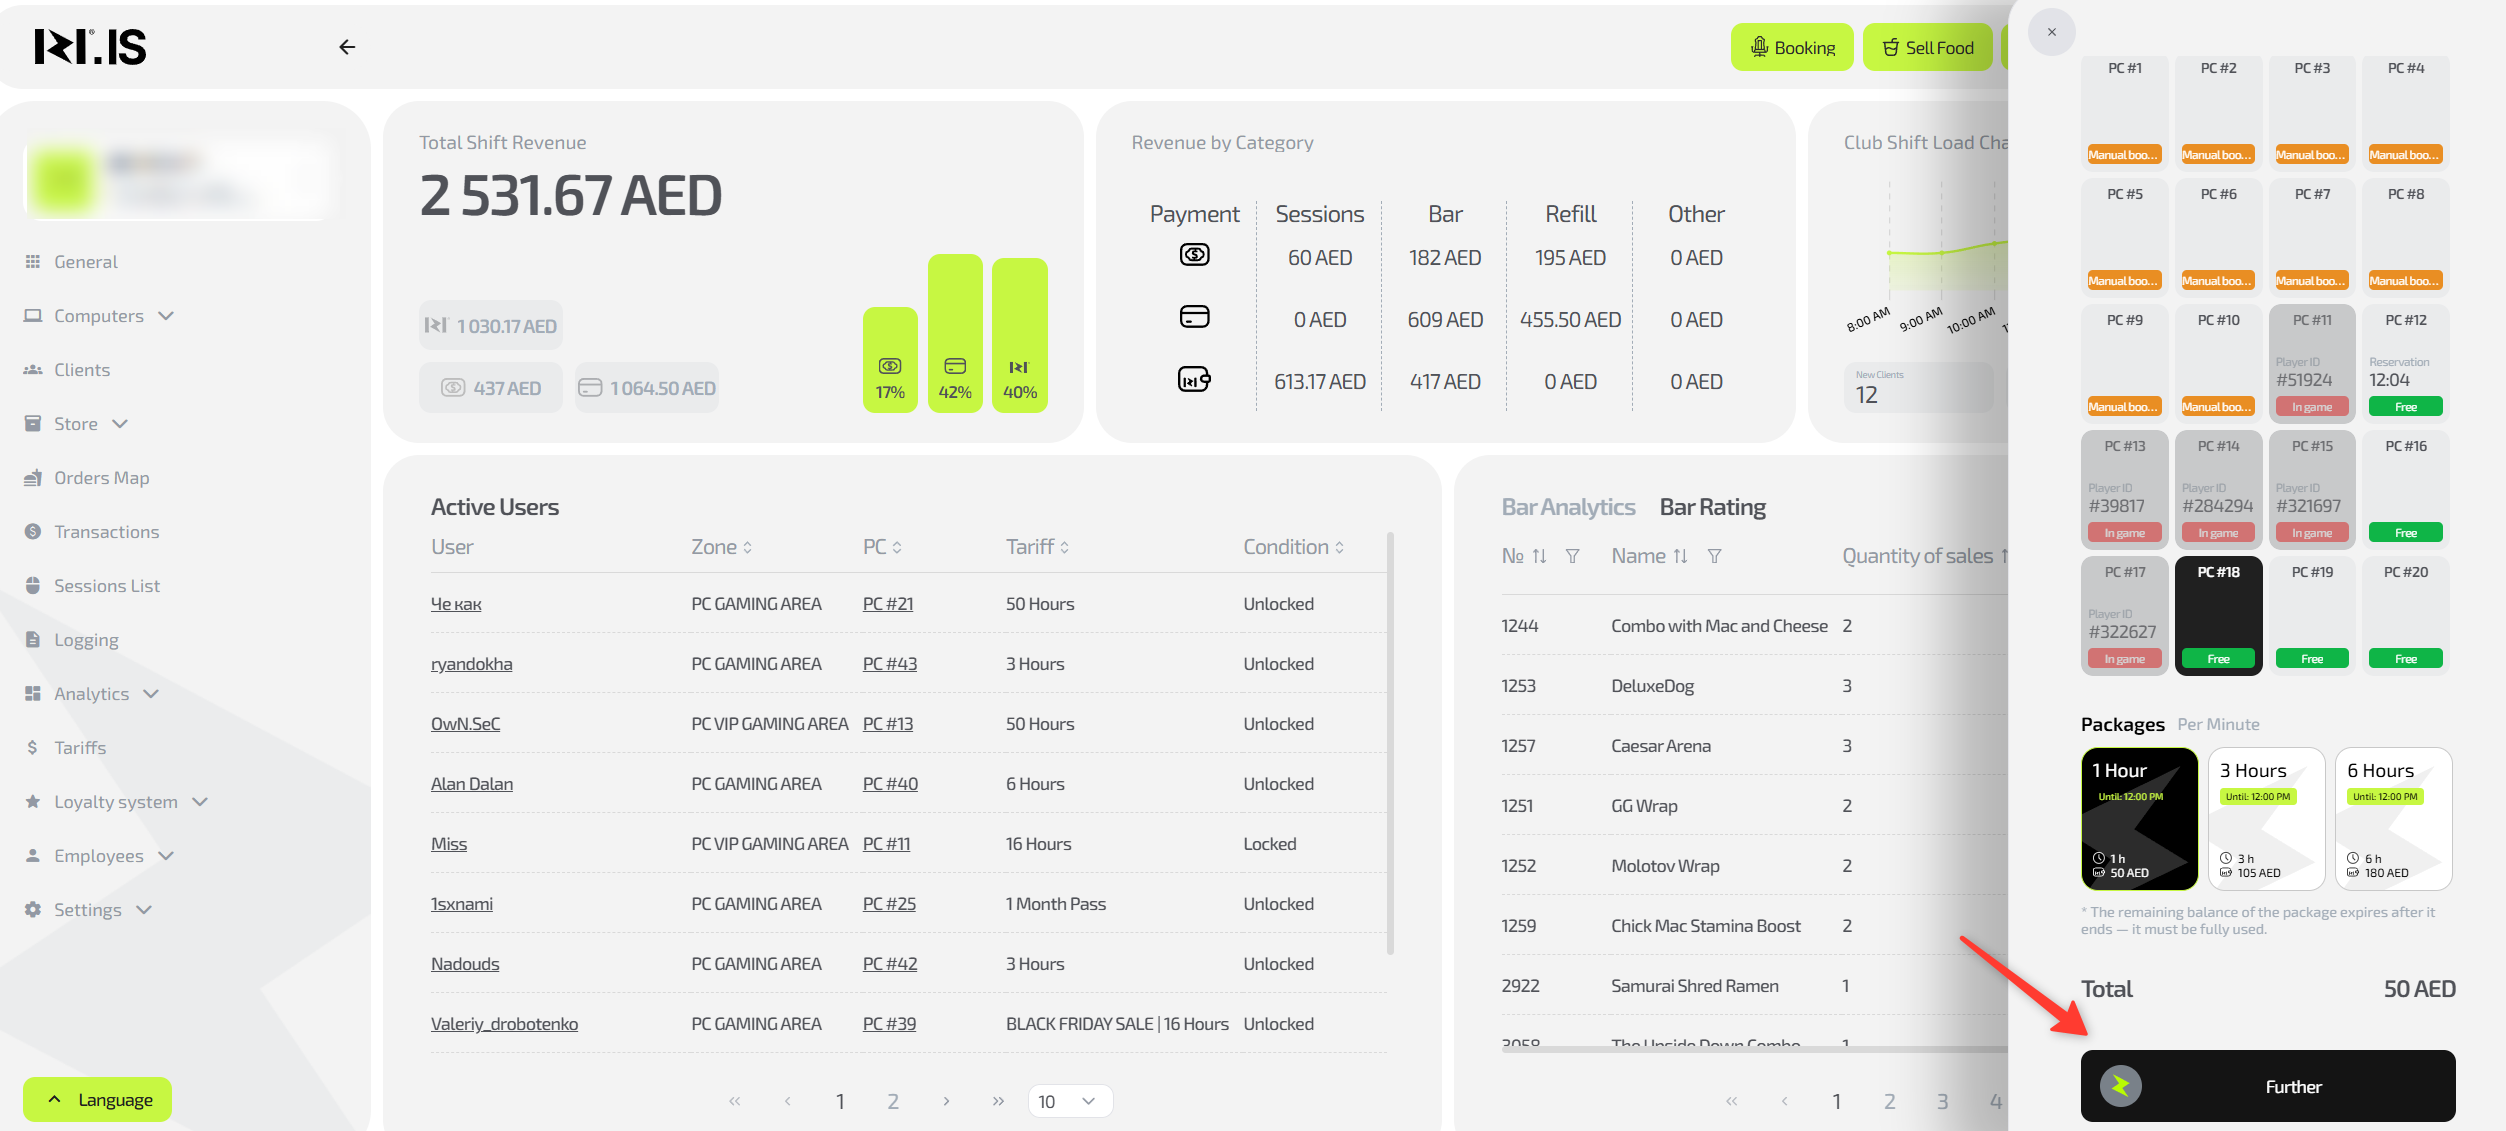
Check that everything is selected correctly and click “Next”.
Step 8
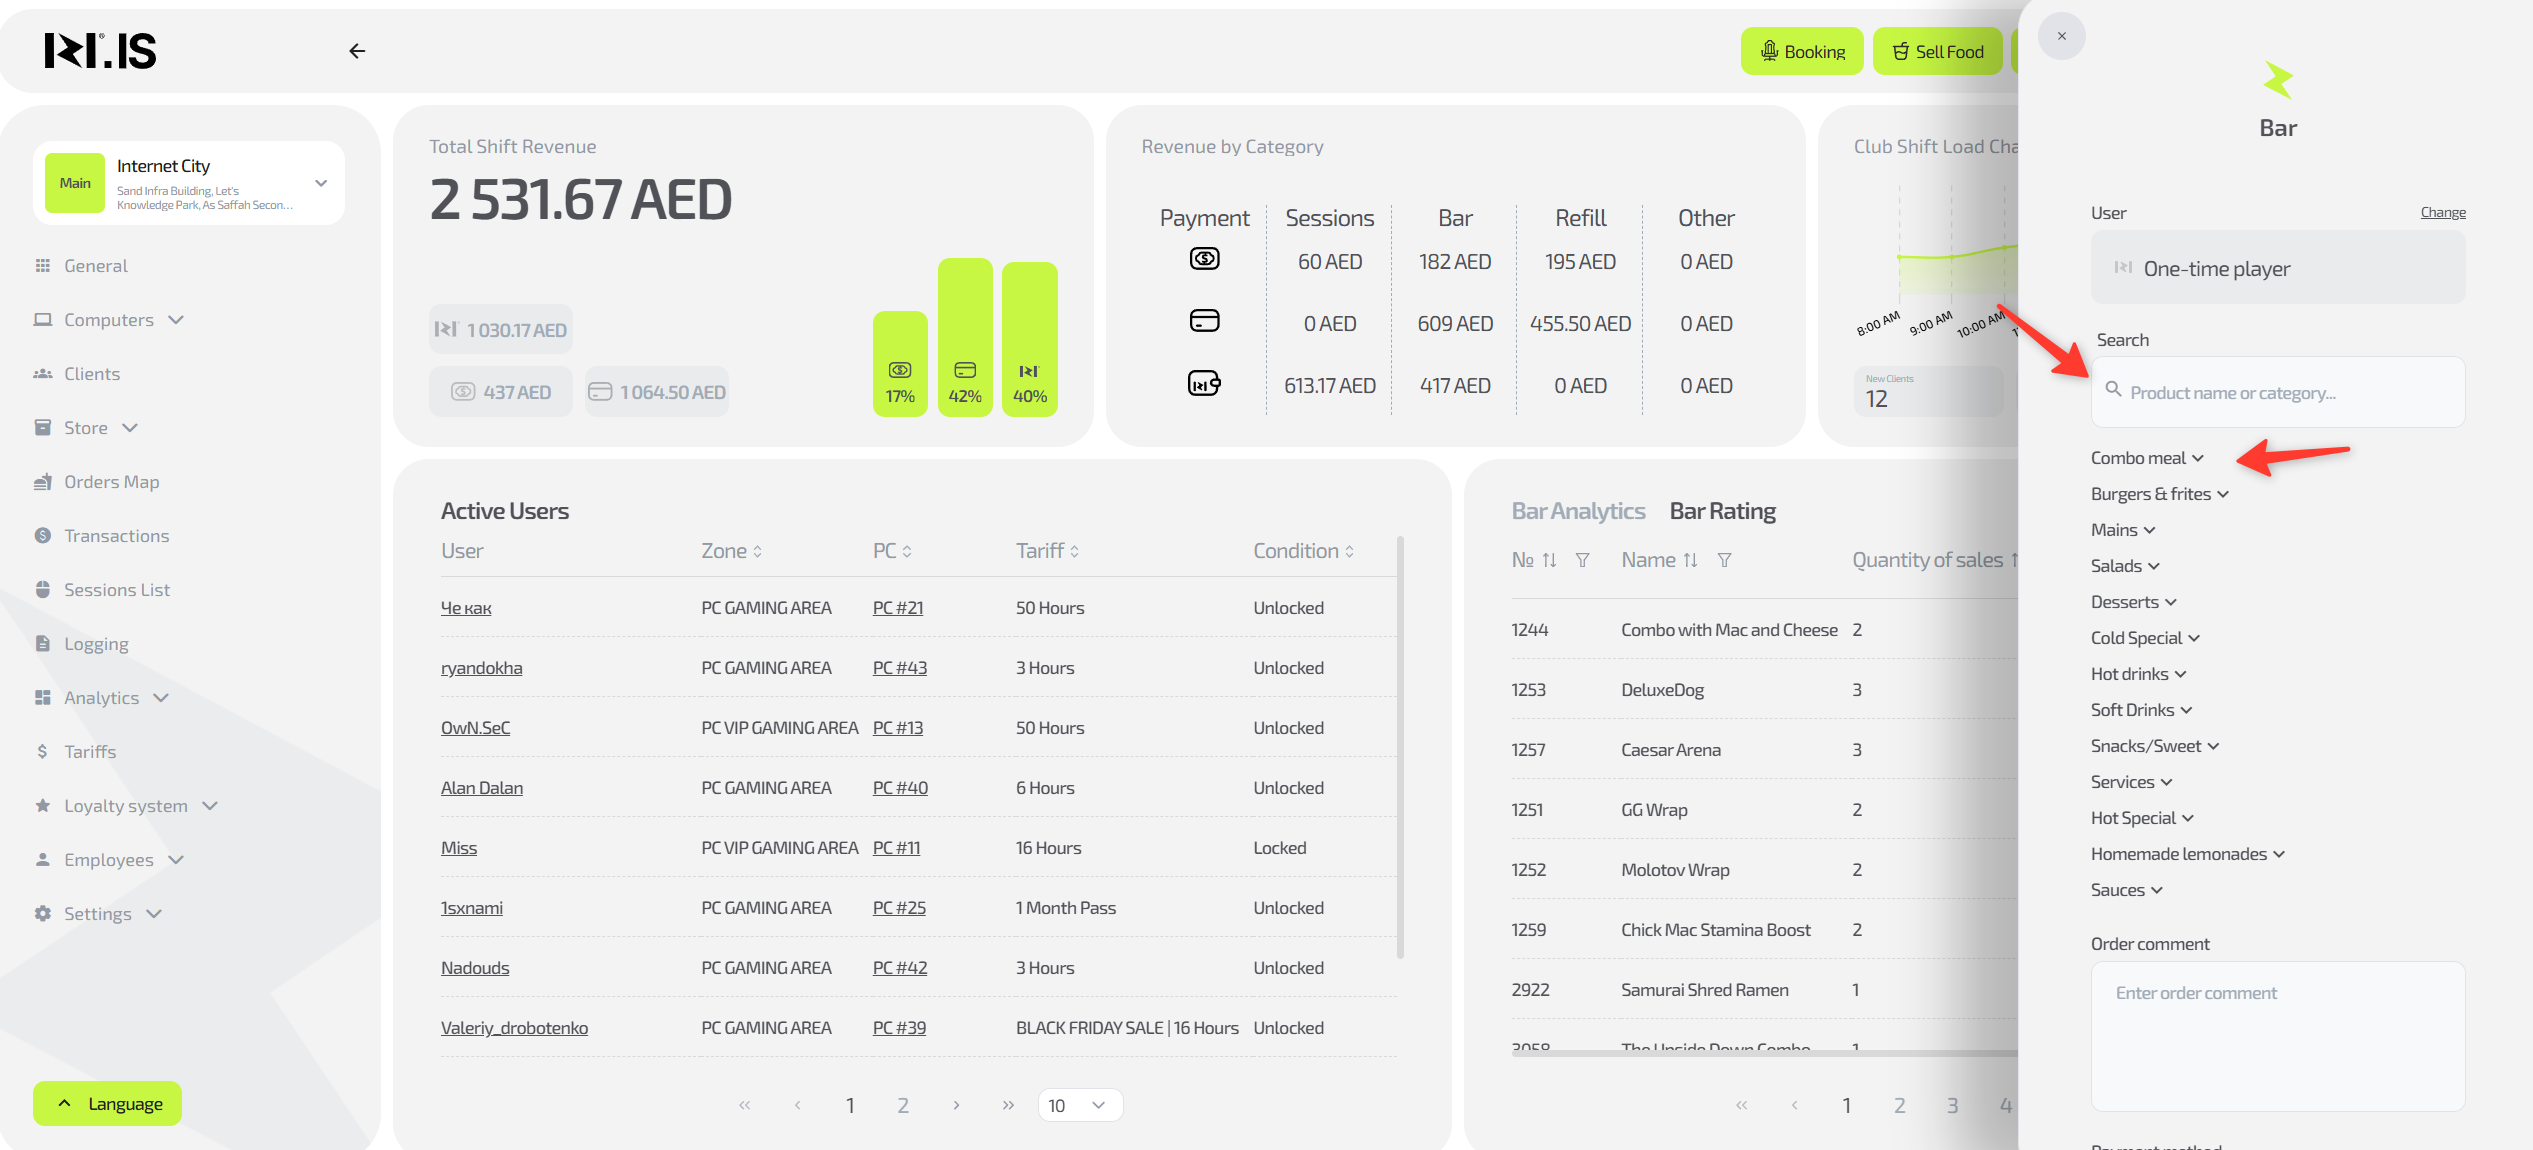
If needed, add one or more bar items to the order.
You can find them via search or by expanding the required category.
Step 9
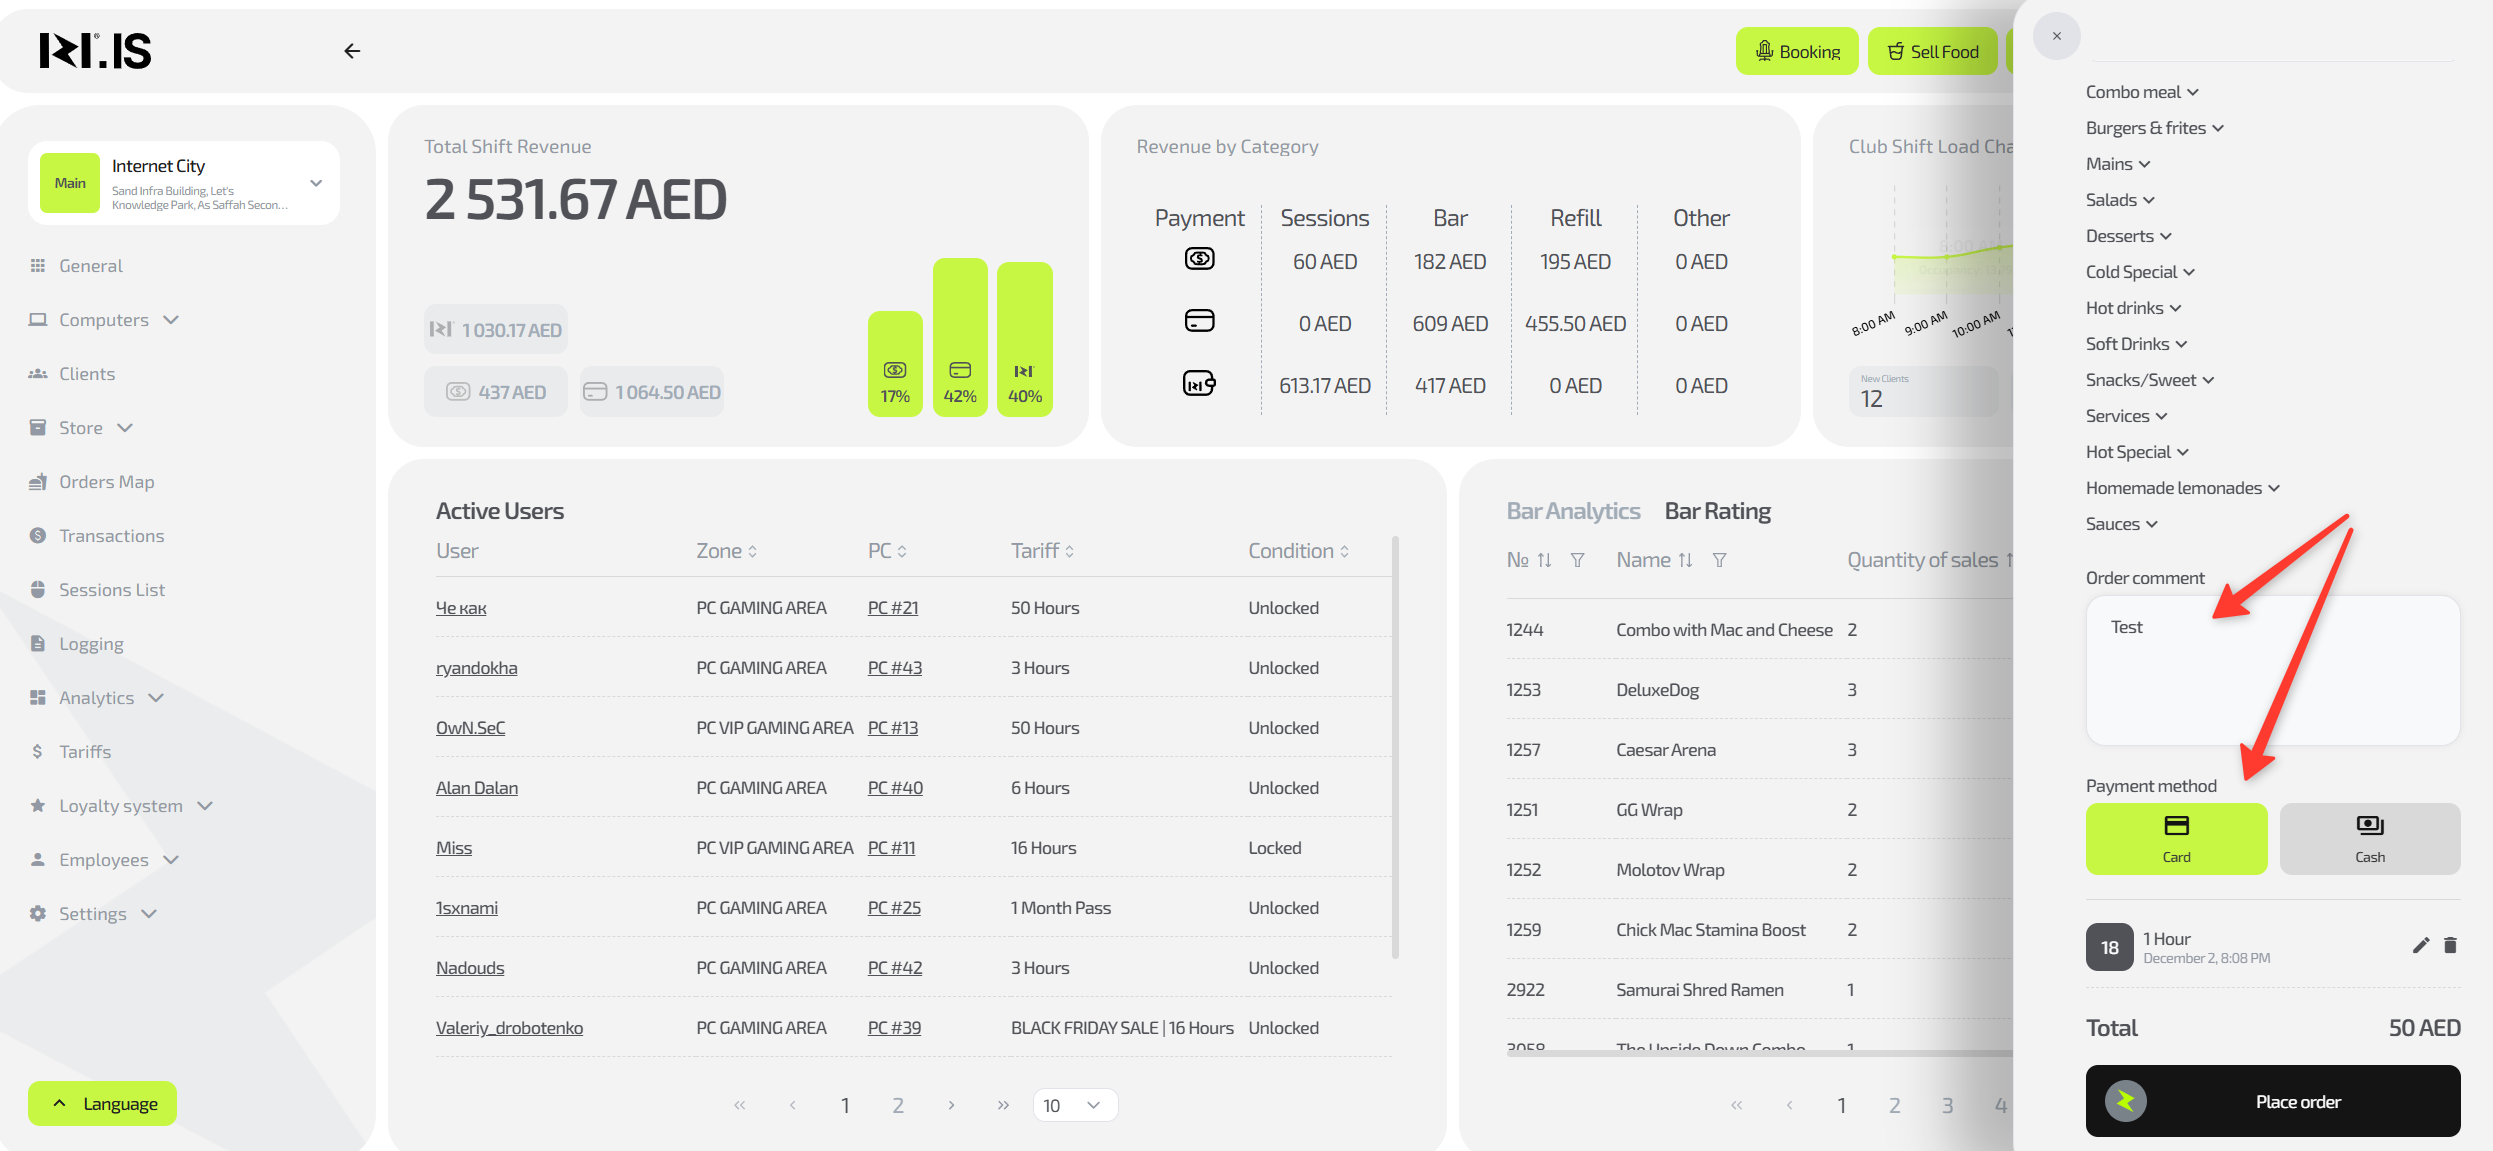
If needed, add a comment to the order. Then select the payment method and click “Take payment”.
Step 10
Accept the payment from the client and finish the seating process.
If the current time was selected, the session will start immediately, and the seat in the “Computers” list will change color accordingly (black).
Common situations
| Problem | What to do |
|---|---|
| The client does not receive the confirmation code (call/SMS) | Make sure the number is entered correctly with the country code (+7...). Try requesting the code again or switch the delivery method (from call to SMS or vice versa). If that doesn’t help, contact technical support. |
| A regular client is not found by phone number | Check for typos. Try entering only the last 4–5 digits. Ask the client which number they used for registration. |
| The desired seat is taken or cannot be selected | Refresh the computer layout. Make sure the seat is not reserved by another administrator or for another time. |
| The client wants to start later but is afraid the seat will be taken | When setting up the session, specify a future start time. The system will automatically reserve the seat for this client, and it will not be available to others until the session begins. |