2.12 Working with the “Store” section
Purpose of the article
To show the administrator and manager how to work with the store: create products and categories, receive products, control stock balances and track product movement.
Who this article is for
- Club manager
- Senior administrator
- Administrator with appropriate store access rights
What you will learn
- How to create products and categories
- How to receive products into the store
- How to manually write off products
- How to view the movement history of products
- How to work with inventory (stock-taking)
Prerequisites
Before you start, make sure that:
- You have access rights to manage the store (product creation, receiving, write-off)
- You know the exact product data: name, prices, weight and calories
Step-by-step guide
Step 1. Create product categories

Before adding products, create categories for them (for example, “Drinks”, “Snacks”).
- Go to the “Store” section -> “Manage categories”.
- Click “Add category”.
- Enter the name and save.
Step 2. Create a product
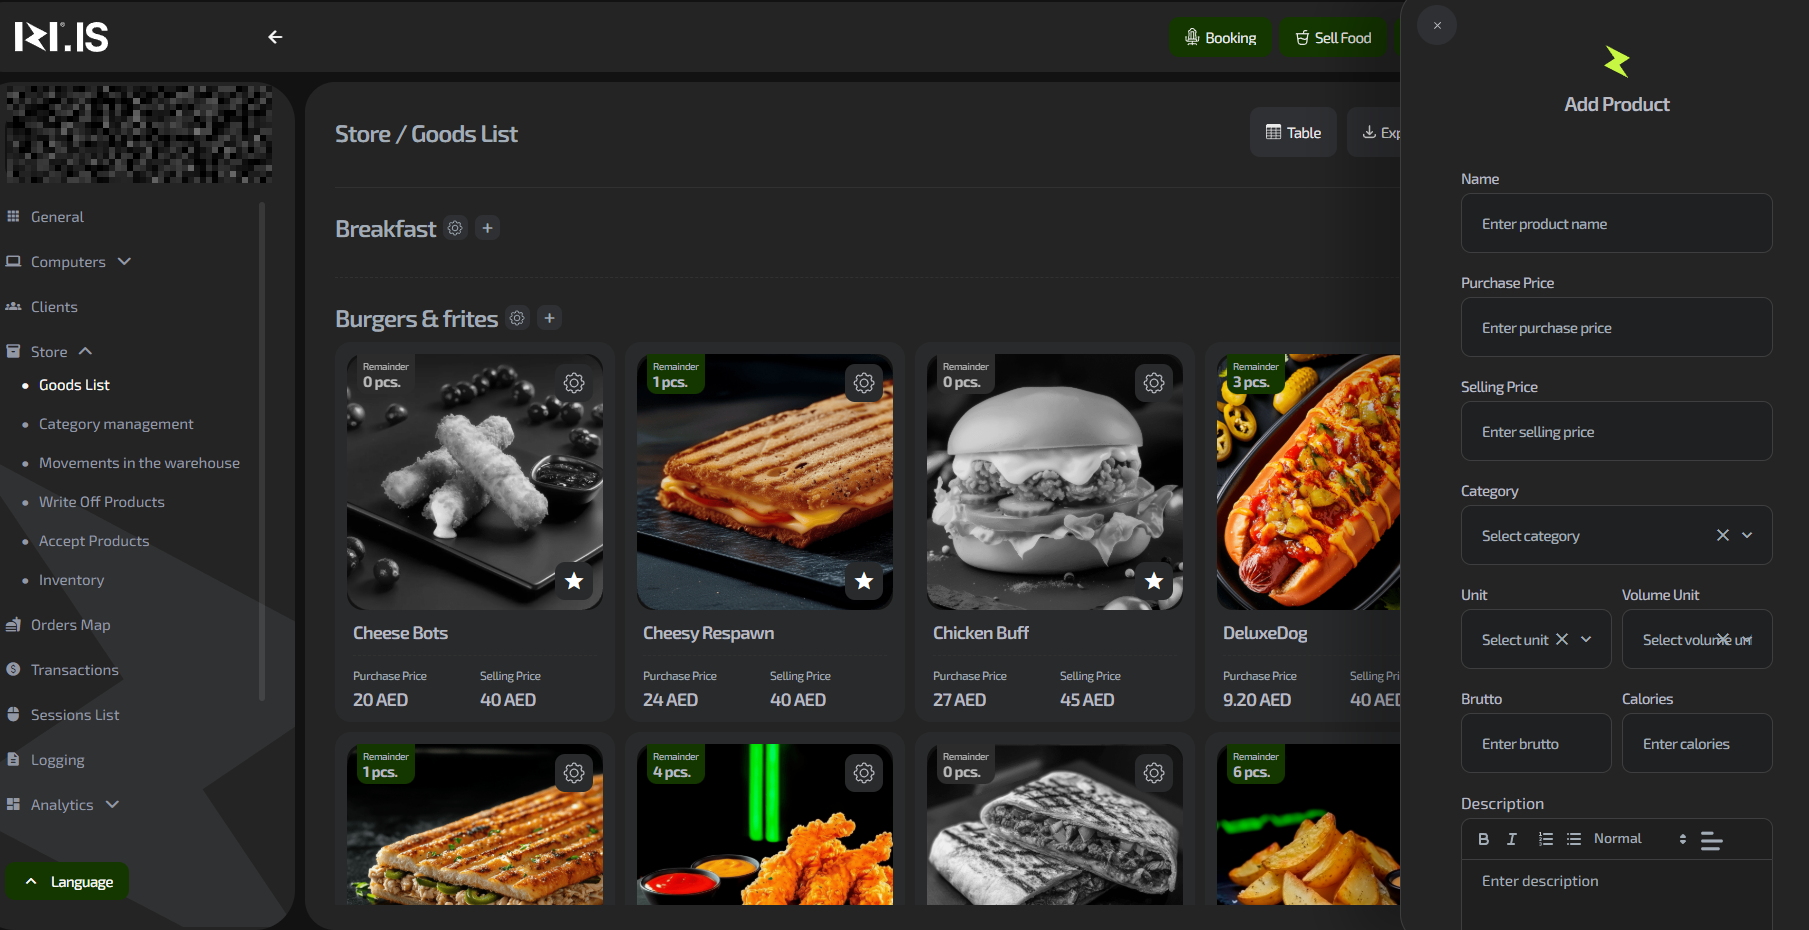
- In the “Store” section, go to “Product list”.
- Click “Add product”.
- Fill in the required fields:
- Name
- Purchase price
- Sale price
- Category (select from those created earlier)
- Gross weight
- Calories (required for future integration)
- (Optional) Upload a product photo.
- Click “Save”.
Important: Without filling in the “Gross weight” and “Calories” fields, the system will not allow you to create a product.
Step 3. Receive products into the store
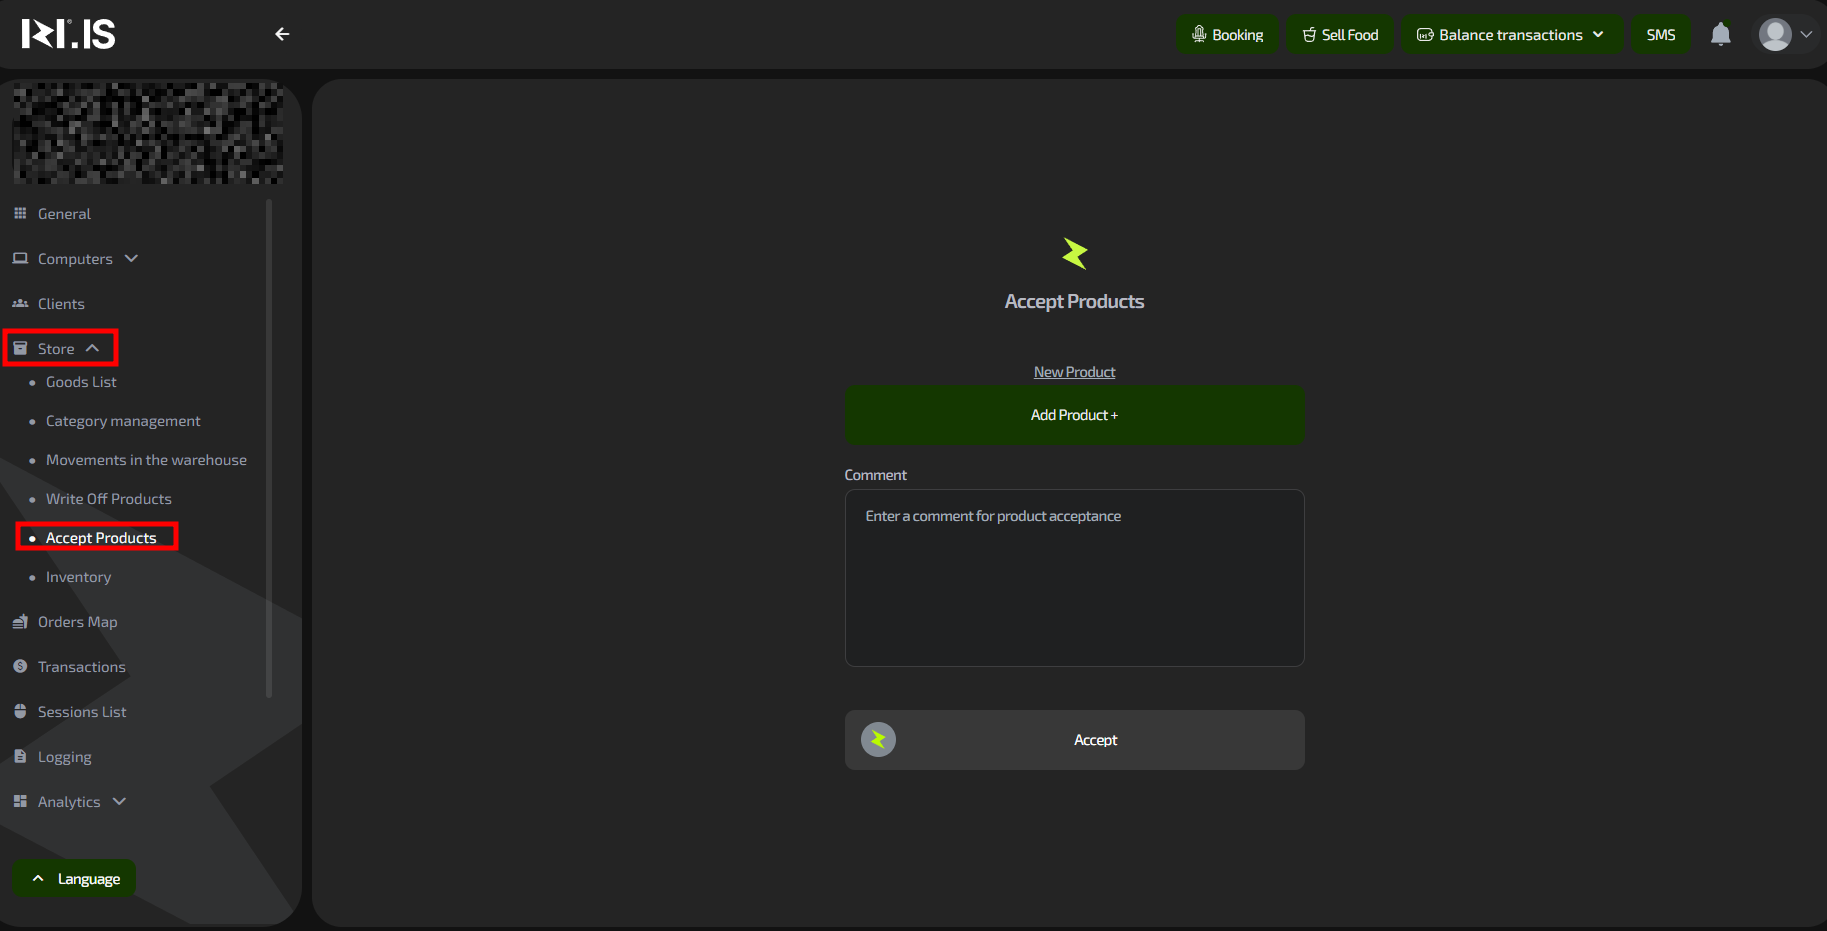
After creating a product, it must be received into stock.
- Go to the “Receive products” subsection of the “Store” section.
- Click “Add product +”.
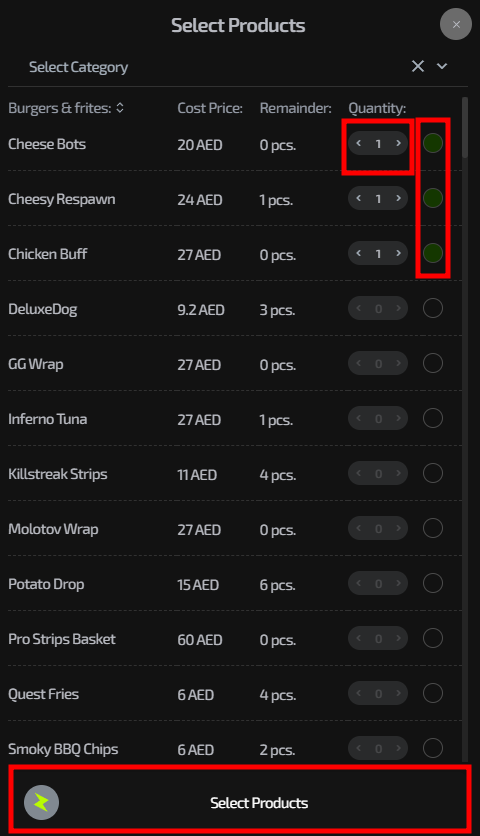
- In the window that opens, select the desired product.
- Specify the quantity.
- Confirm receiving by clicking “Select products”.
Important: The product will appear in stock balances and become available for sale only after you perform this procedure.
Step 4. Control product movement
- In the “Store movement” section you can see the full history of operations: all receipts and write-offs.
- For manual write-off of a product (for example, if it was sold but not written off by the system because of a failure):
- Go to “Write off products”.
- Select the product and specify the quantity to write off.
- Confirm the operation.
Step 5. Perform an inventory (stock-taking)
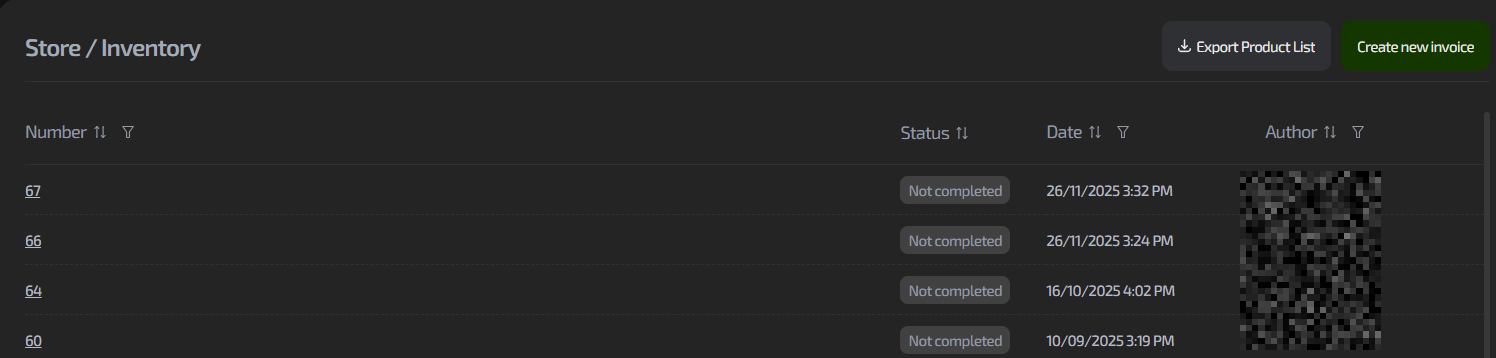
This function is intended to reconcile actual stock with system balances.
- Go to the “Inventory” section.
- Create a new inventory and enter the actual data.
- The system will automatically calculate discrepancies.
Note: At the moment, this function is rarely used by clubs in daily work.
Common situations
| Problem | What to do |
|---|---|
| The product is not created, the “Save” button is inactive | Check that all required fields are filled in, especially “Gross weight” and “Calories”. |
| The product is created but not shown for sale at the bar | Make sure you performed “Receive products” and specified the quantity. |
| Store balances do not match actual sales | 1. Check “Store movement” for errors. 2. Perform a manual write-off of the missing product. |
| You need to change the product price | Find the product in the “Product list”, click it and edit the “Sale price”. |
| You need to export the product list for reporting | Use the “Export” button in the “Product list” section to export data to Excel. |